
Appearance
How to auto share from WordPress to Threads?
This guide walks you through publishing WordPress posts to Threads using Revive Social's Webhook feature and a Zapier workflow with a Threads connector such as Threads by Unshape. Threads is not a native Revive Social account type, so this Webhook + Zapier approach is the supported method.
This is a Premium Feature! Get immediate access to it with any Pro subscription of Revive Social here
⚠️ Important: Revive Social does not currently include a native Threads account connection. The supported way to publish to Threads is the Webhook + Zapier workflow in this guide, together with a Threads connector such as Threads by Unshape.
In this article
Before you start: how Threads support works in Revive Social
Revive Social can publish directly to supported social networks, but Threads is not a native Revive Social account type yet. This guide shows the supported workaround:
- Send your post data from Revive Social to Zapier with a Webhook account.
- Use a Threads Zapier action provider (for example, Threads by Unshape) to publish the post on Threads.
Before you begin, make sure you have:
- Revive Social Pro (with Webhook/Zapier support).
- A Zapier account.
- An active subscription for the Threads connector you choose in Zapier (for example, Threads by Unshape).
Introduction
Integrating Revive Social with Zapier enables automation for channels that are not available as native account connections. This guide walks you through setting up a webhook and a Zapier workflow so your WordPress content can be posted to Threads.
📝 Note: More details about the connection between Revive Social and Zapier can be found here.
Why Instagram cross-posting to Threads may not work
If your post is successfully shared to Instagram from Revive Social, Instagram's Always share posts to Threads option may still not publish that same post to Threads.
This setting is controlled by Instagram/Meta, and cross-posting can depend on how the Instagram post was created. Posts published through third-party/API automation tools (including Revive Social) may not trigger Instagram's in-app Threads cross-post behavior the same way manual posts do.
Because of this, if you need reliable publishing to Threads, set up the direct Webhook + Zapier + Threads connector workflow below.
Integrating with Zapier
Follow these steps to create a Zap in Zapier that will automatically share your WordPress posts on social media platforms:
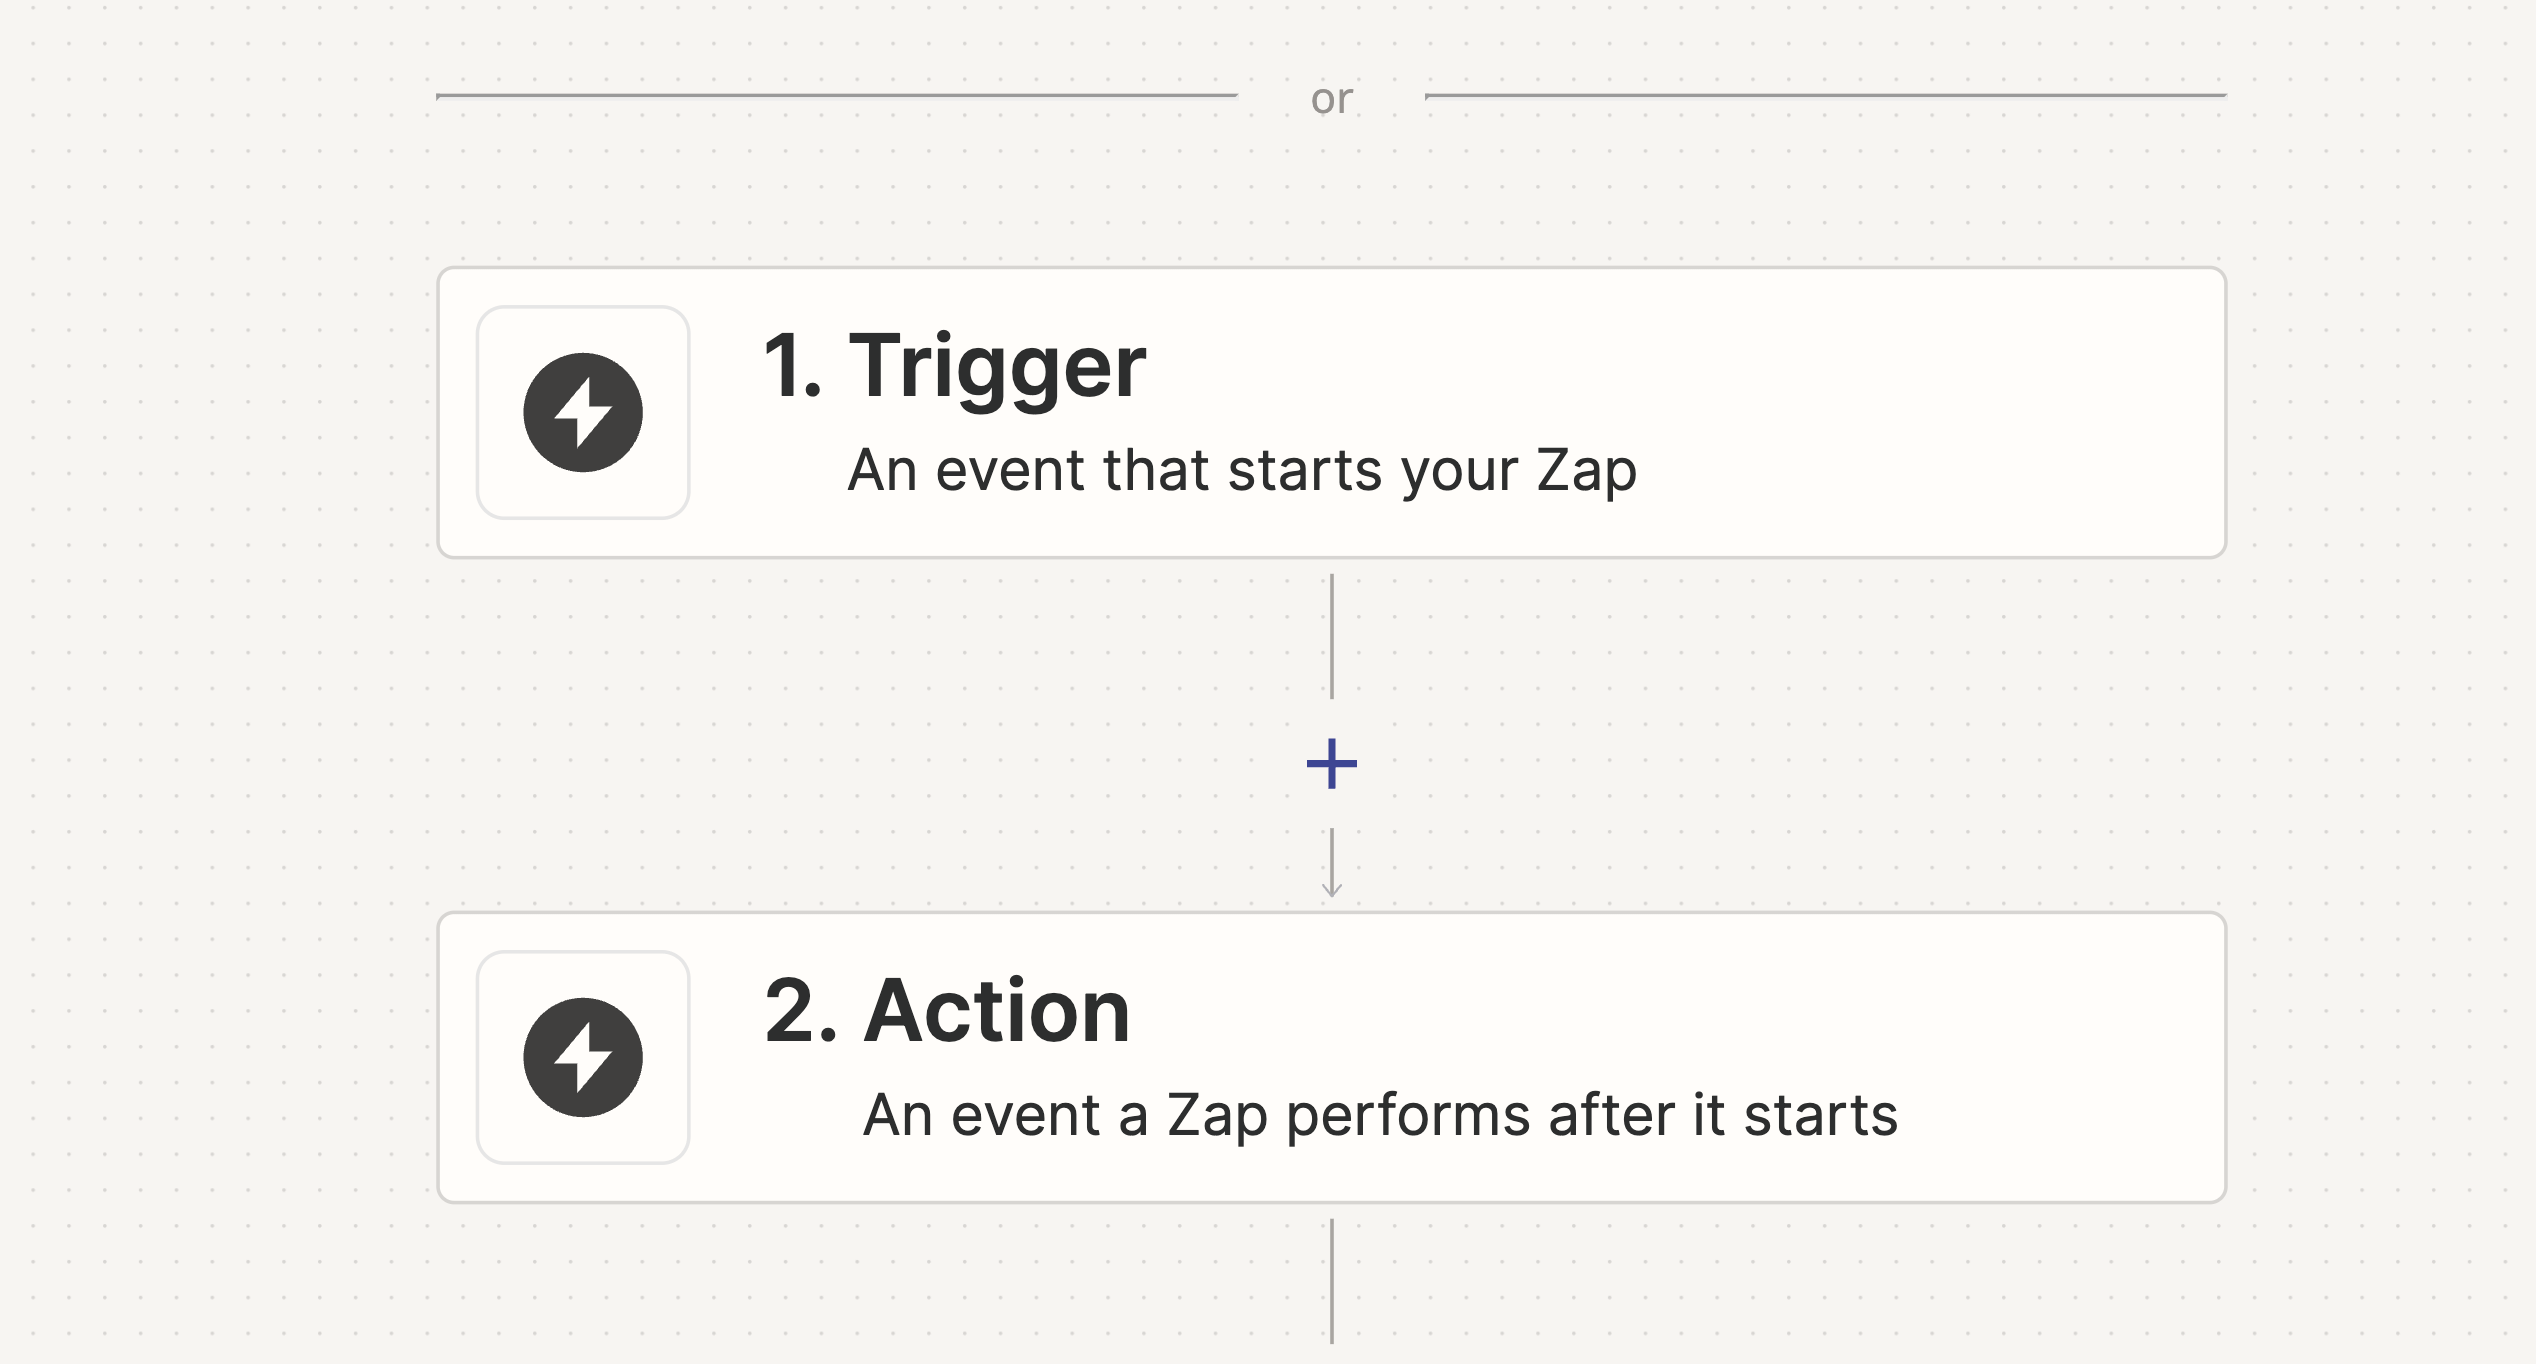
Step 1: Choose a Trigger
- Log in to your Zapier account.
- Click on "Create Zap".
- Select "Webhook by Zapier" as the trigger app.

Step 2: Set Up the Webhook Trigger
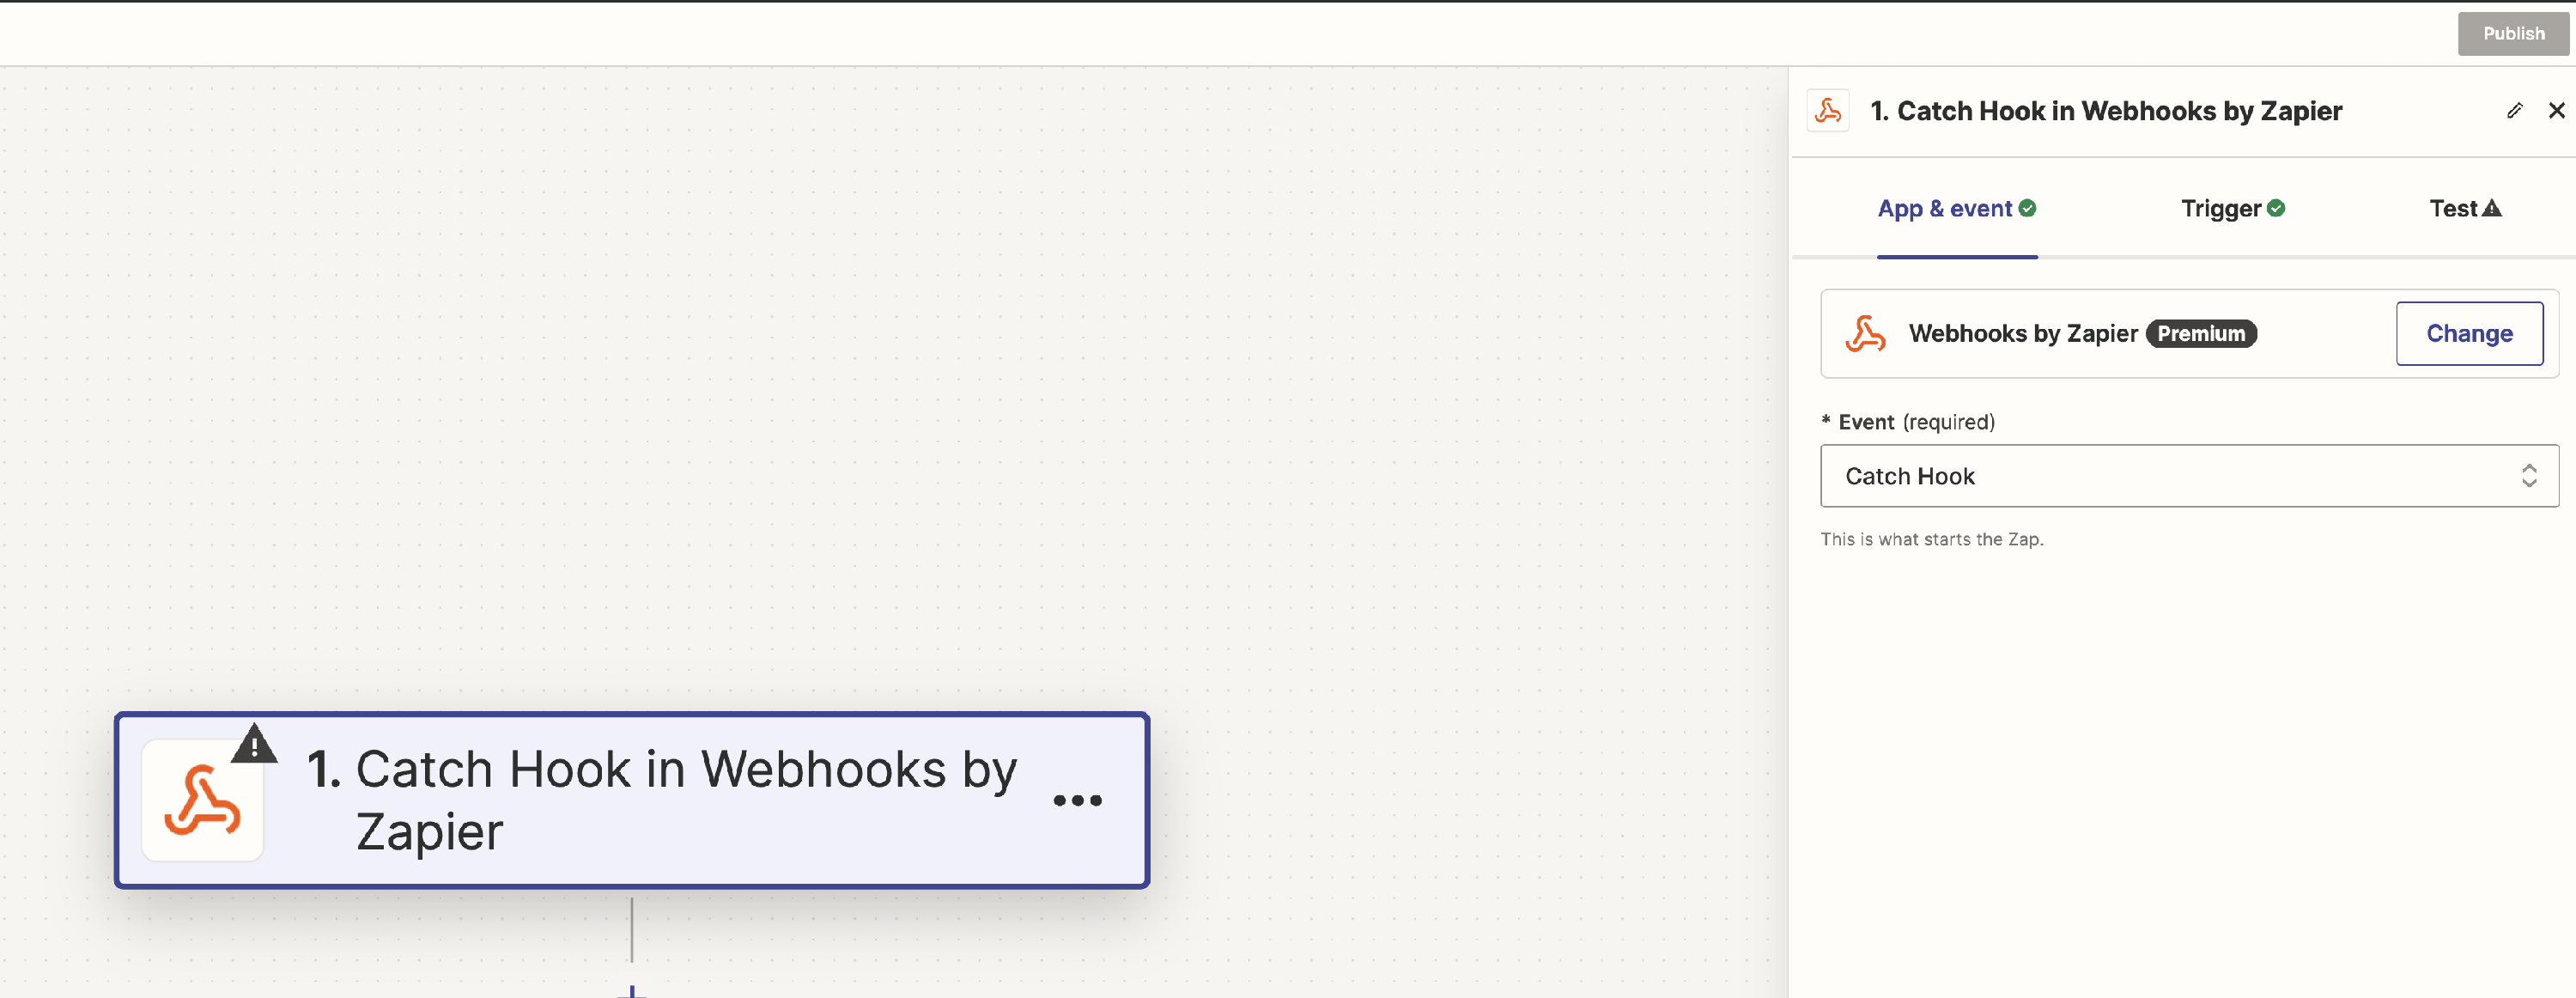
- Choose "Catch Hook" as the trigger event, then click "Continue".
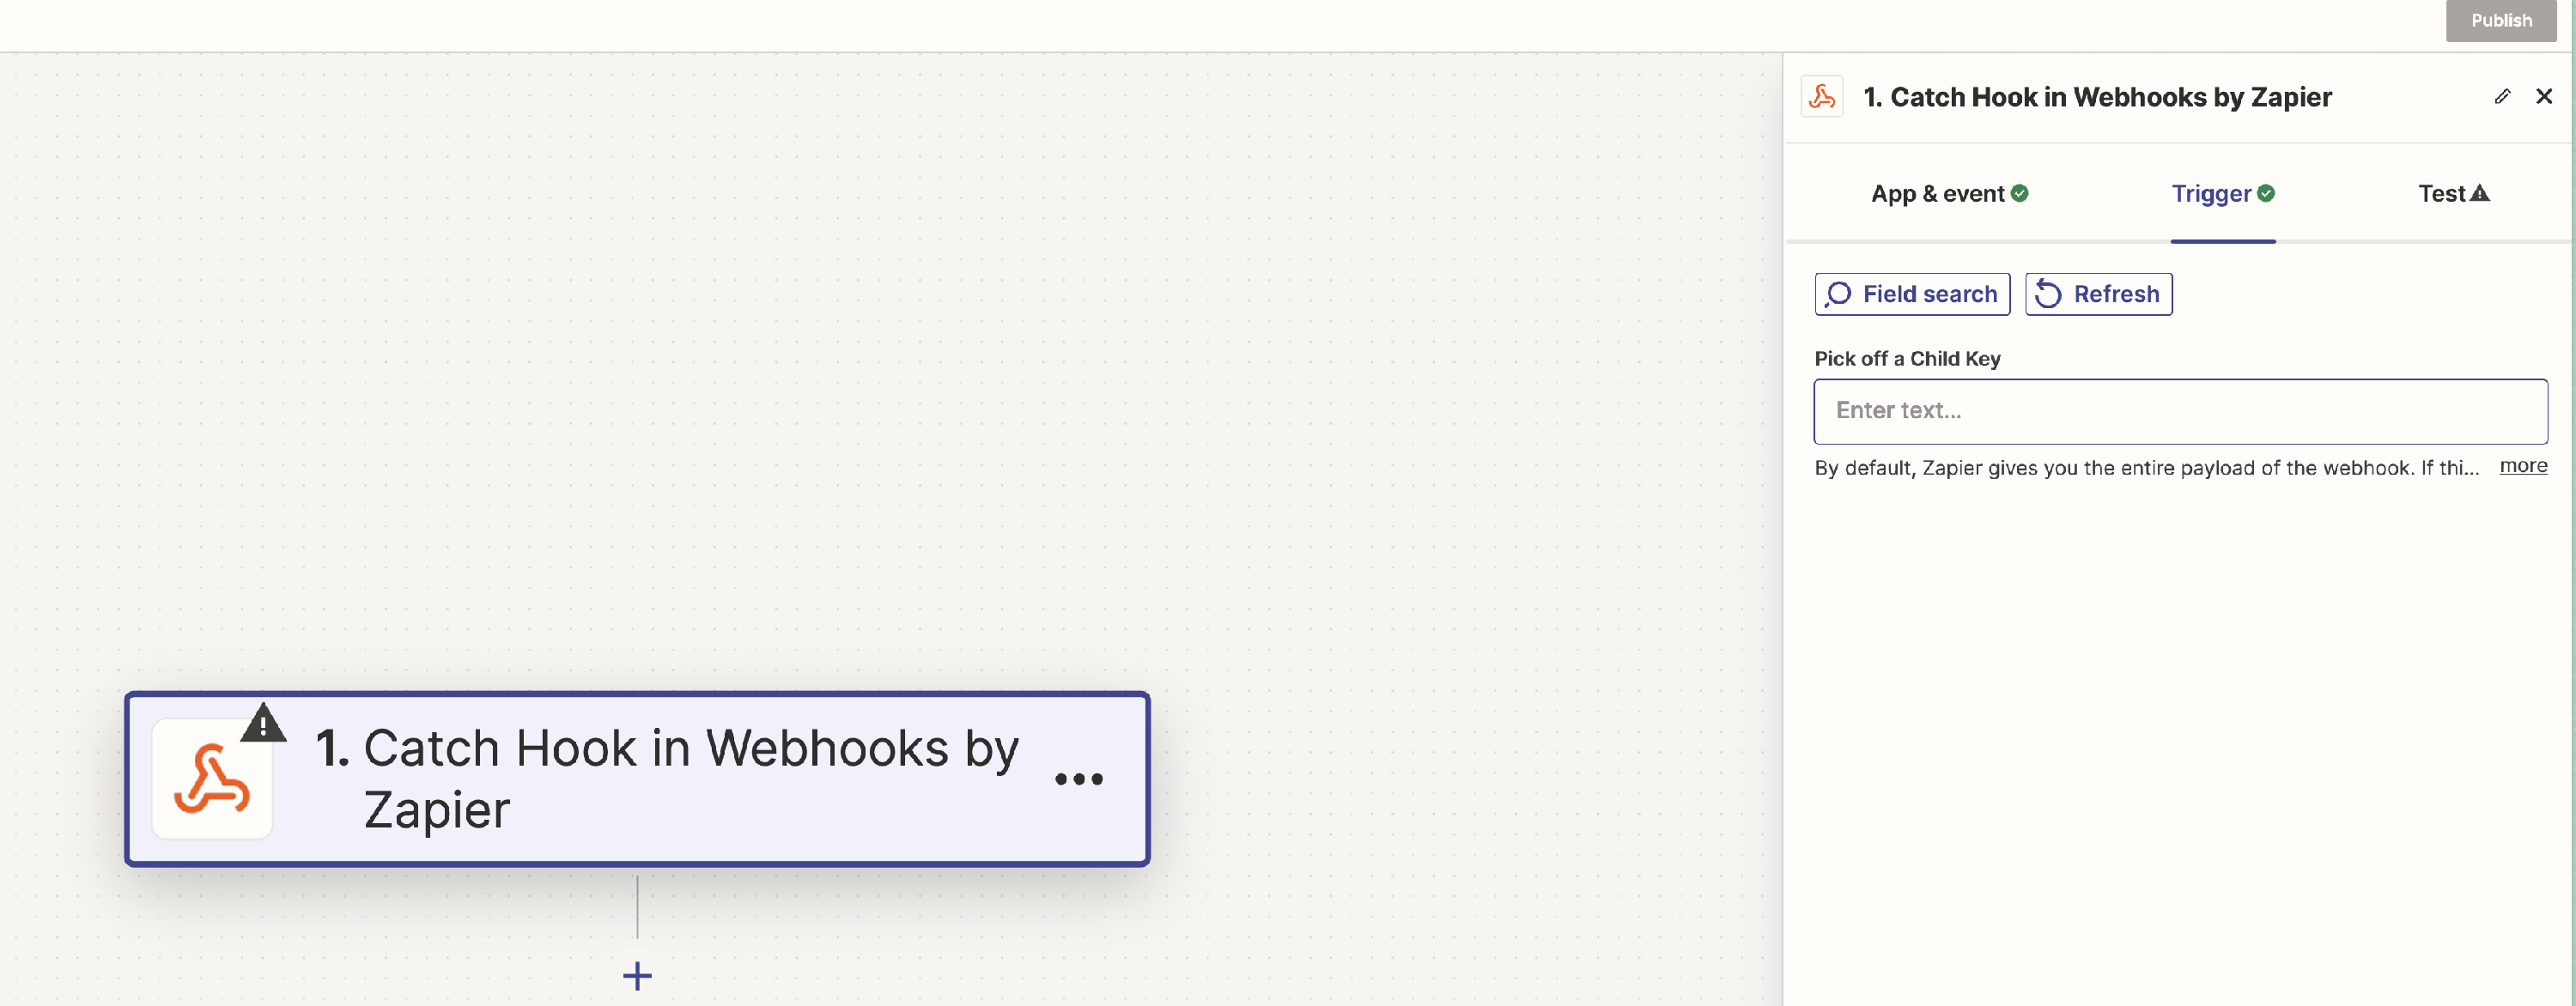
Leave empty the Pick off a Child Key field, and click "Continue".
Copy the custom webhook URL provided by Zapier, which we will use later when we set in the plugin (e.g.:
https://hooks.zapier.com/hooks/...).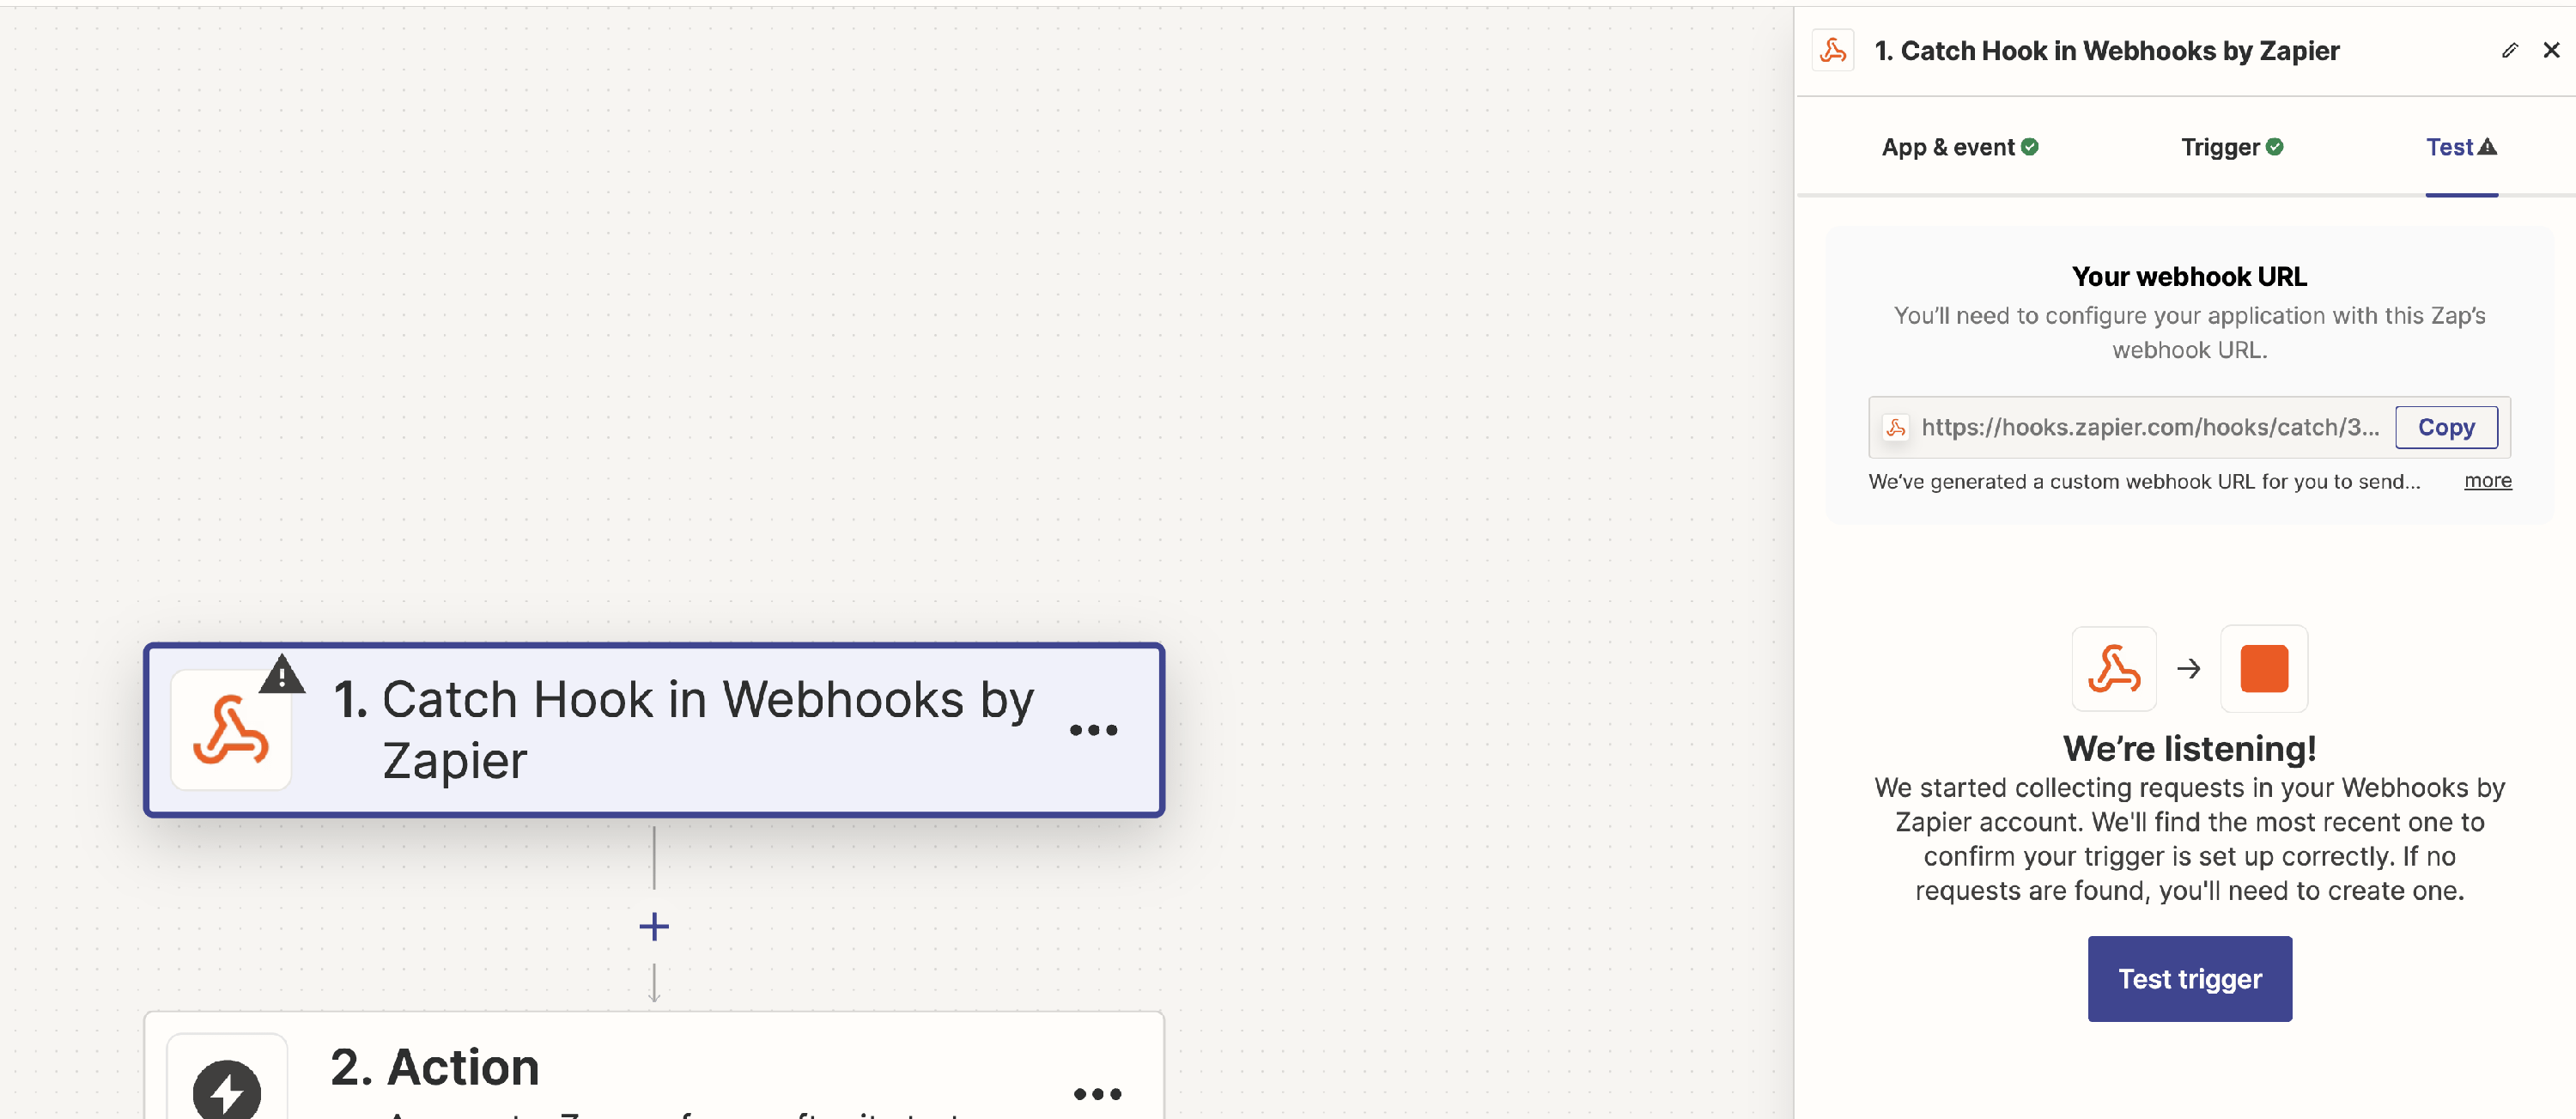
Before adding other Actions, we need to make Zapier aware of our payload structure so that we can select them as data input.
To achieve this, we need to send a test payload to Zapier. Thus, we will set up a Webhook account in our plugin and send a sample post to it.
Step 3: Setting Up the Webhook in WordPress with Revive Social
- Go back to your website.
- Go to the Revive Social dashboard.
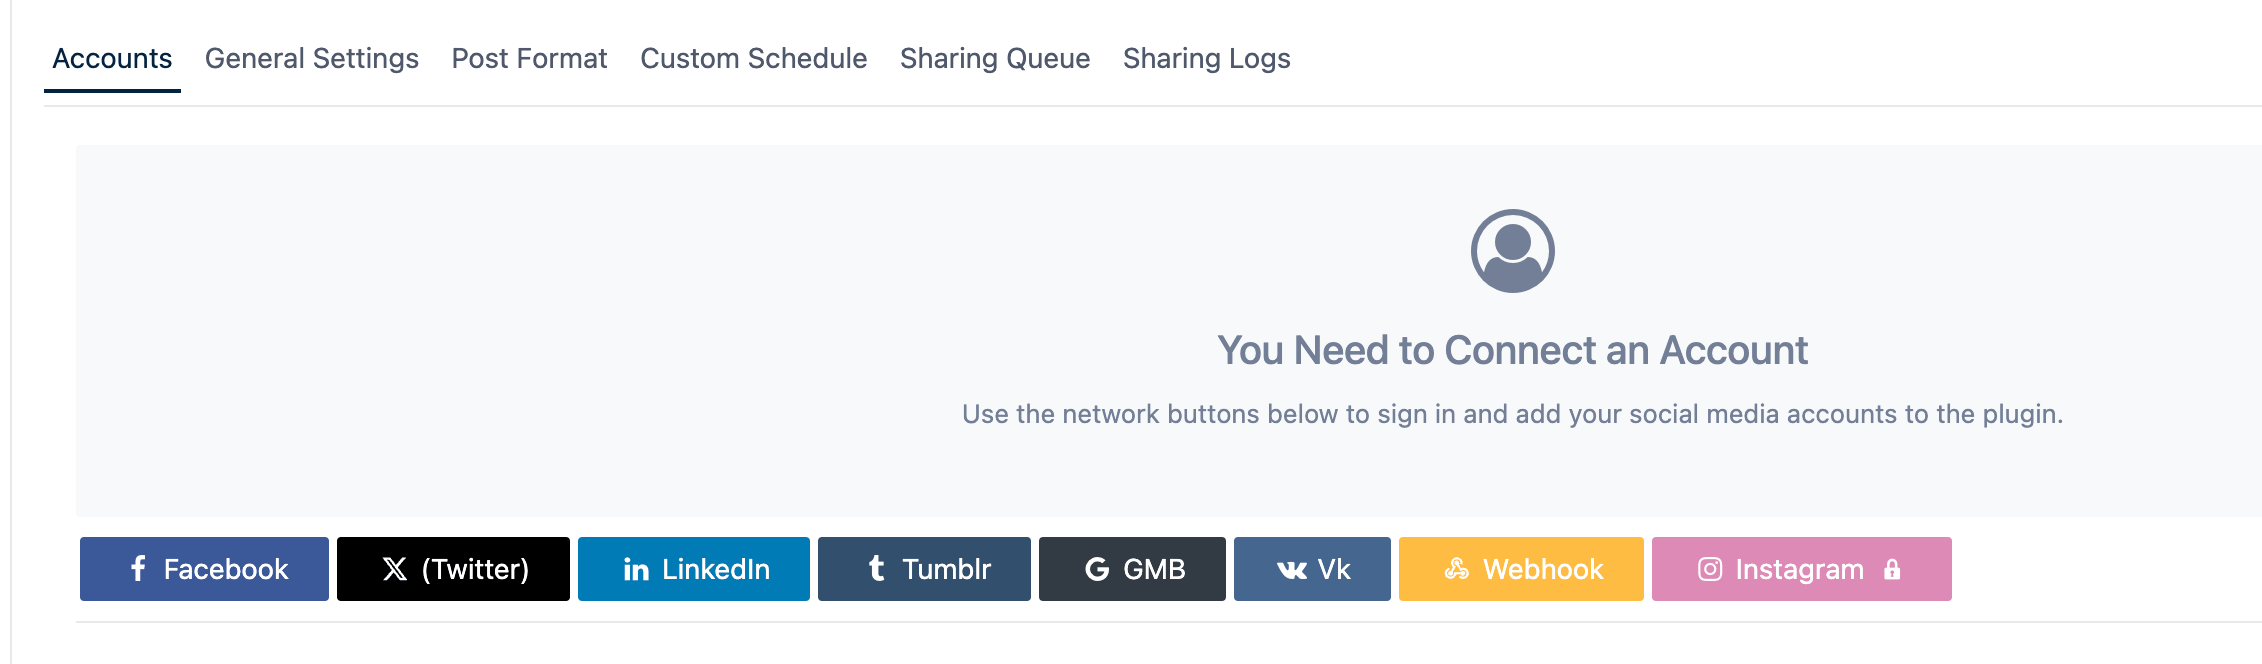
- Add a new account via the Webhook button.
- Write a name for this account to help identify it.
- Paste the URL from Zapier in the Webhook URL field.
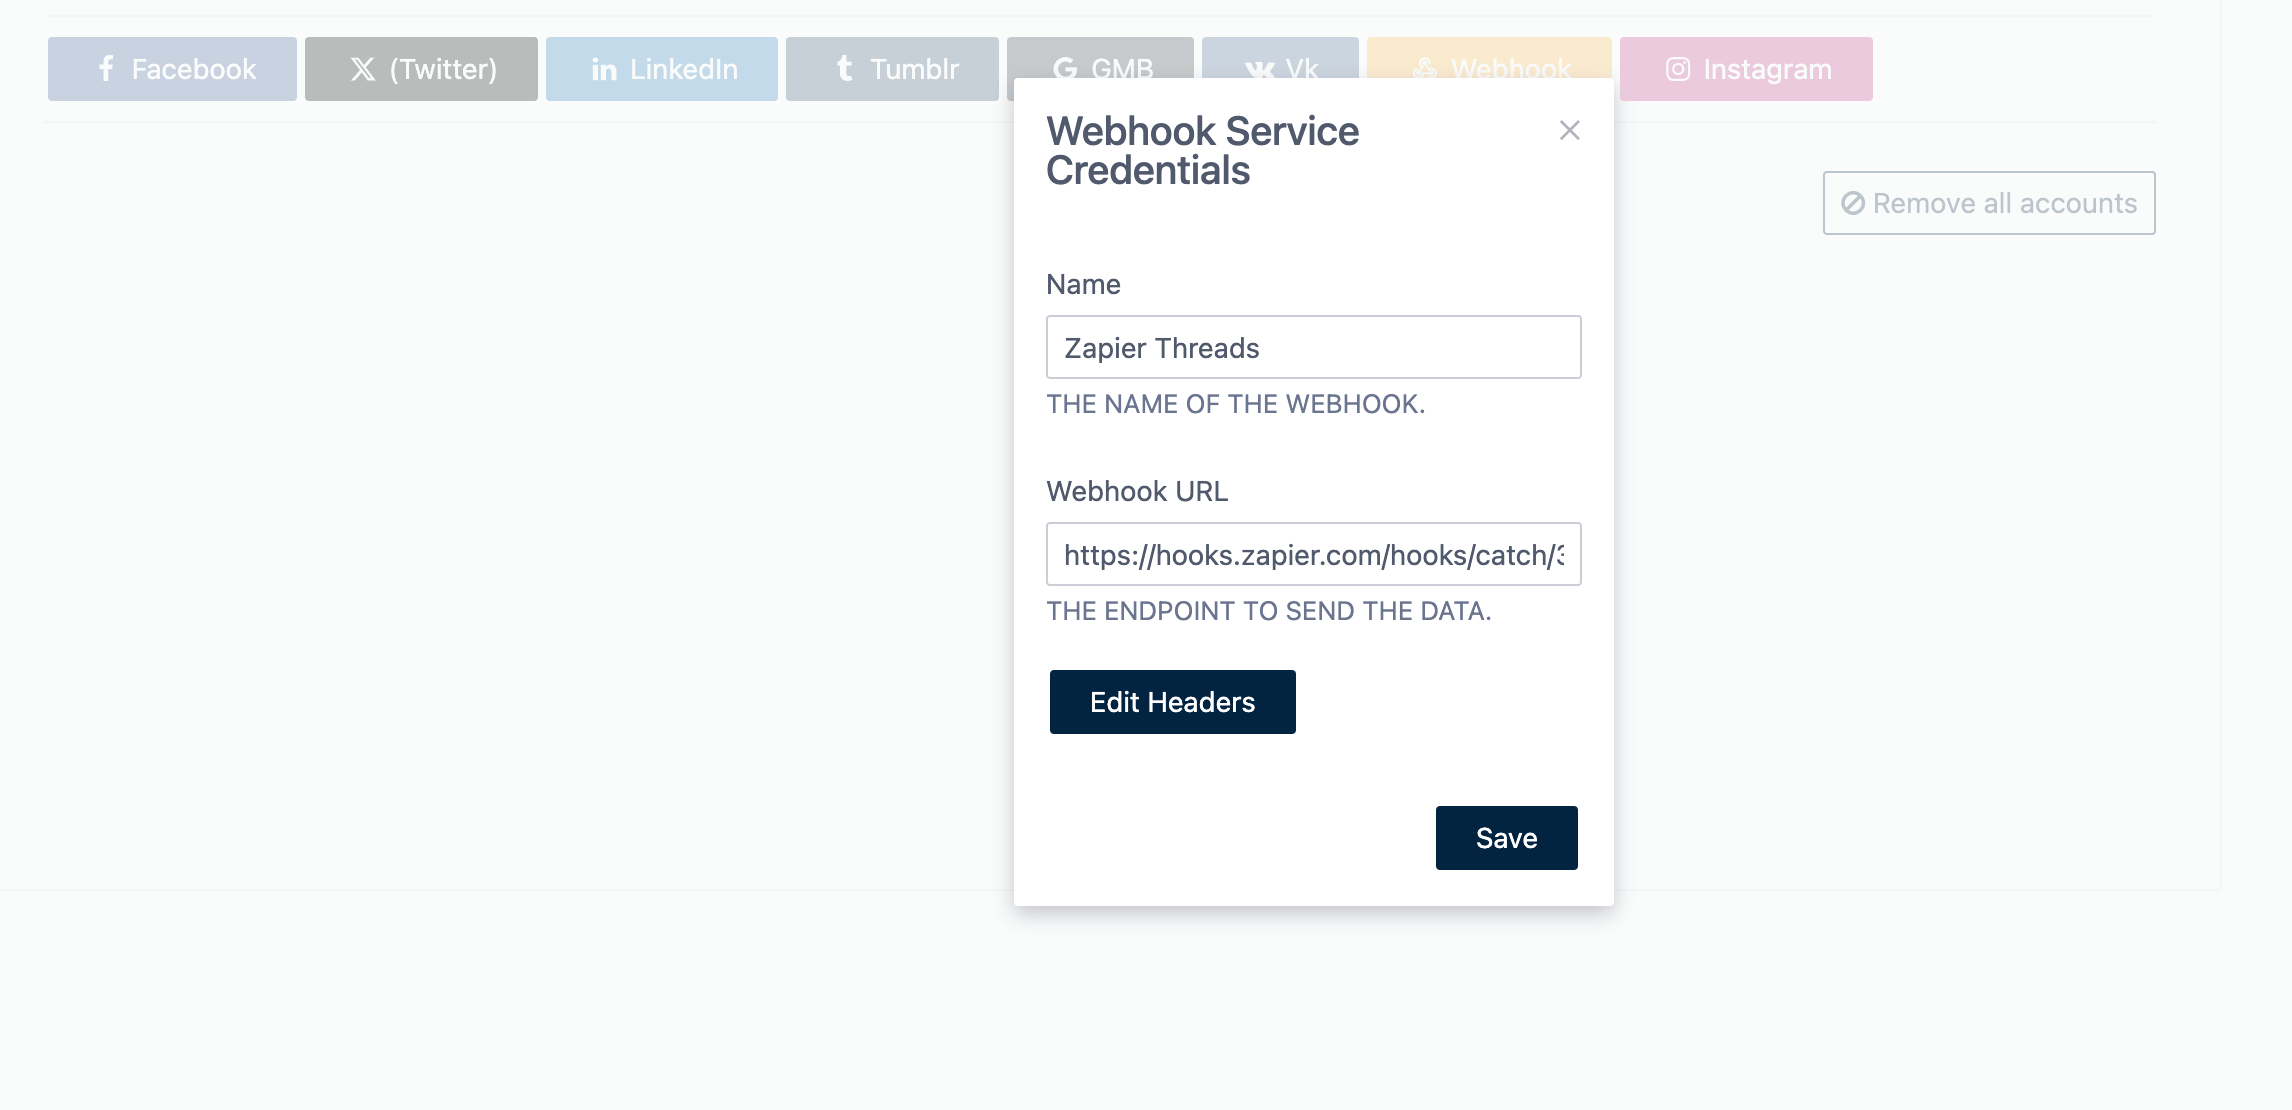
- Save your settings by clicking on the Sign in button.
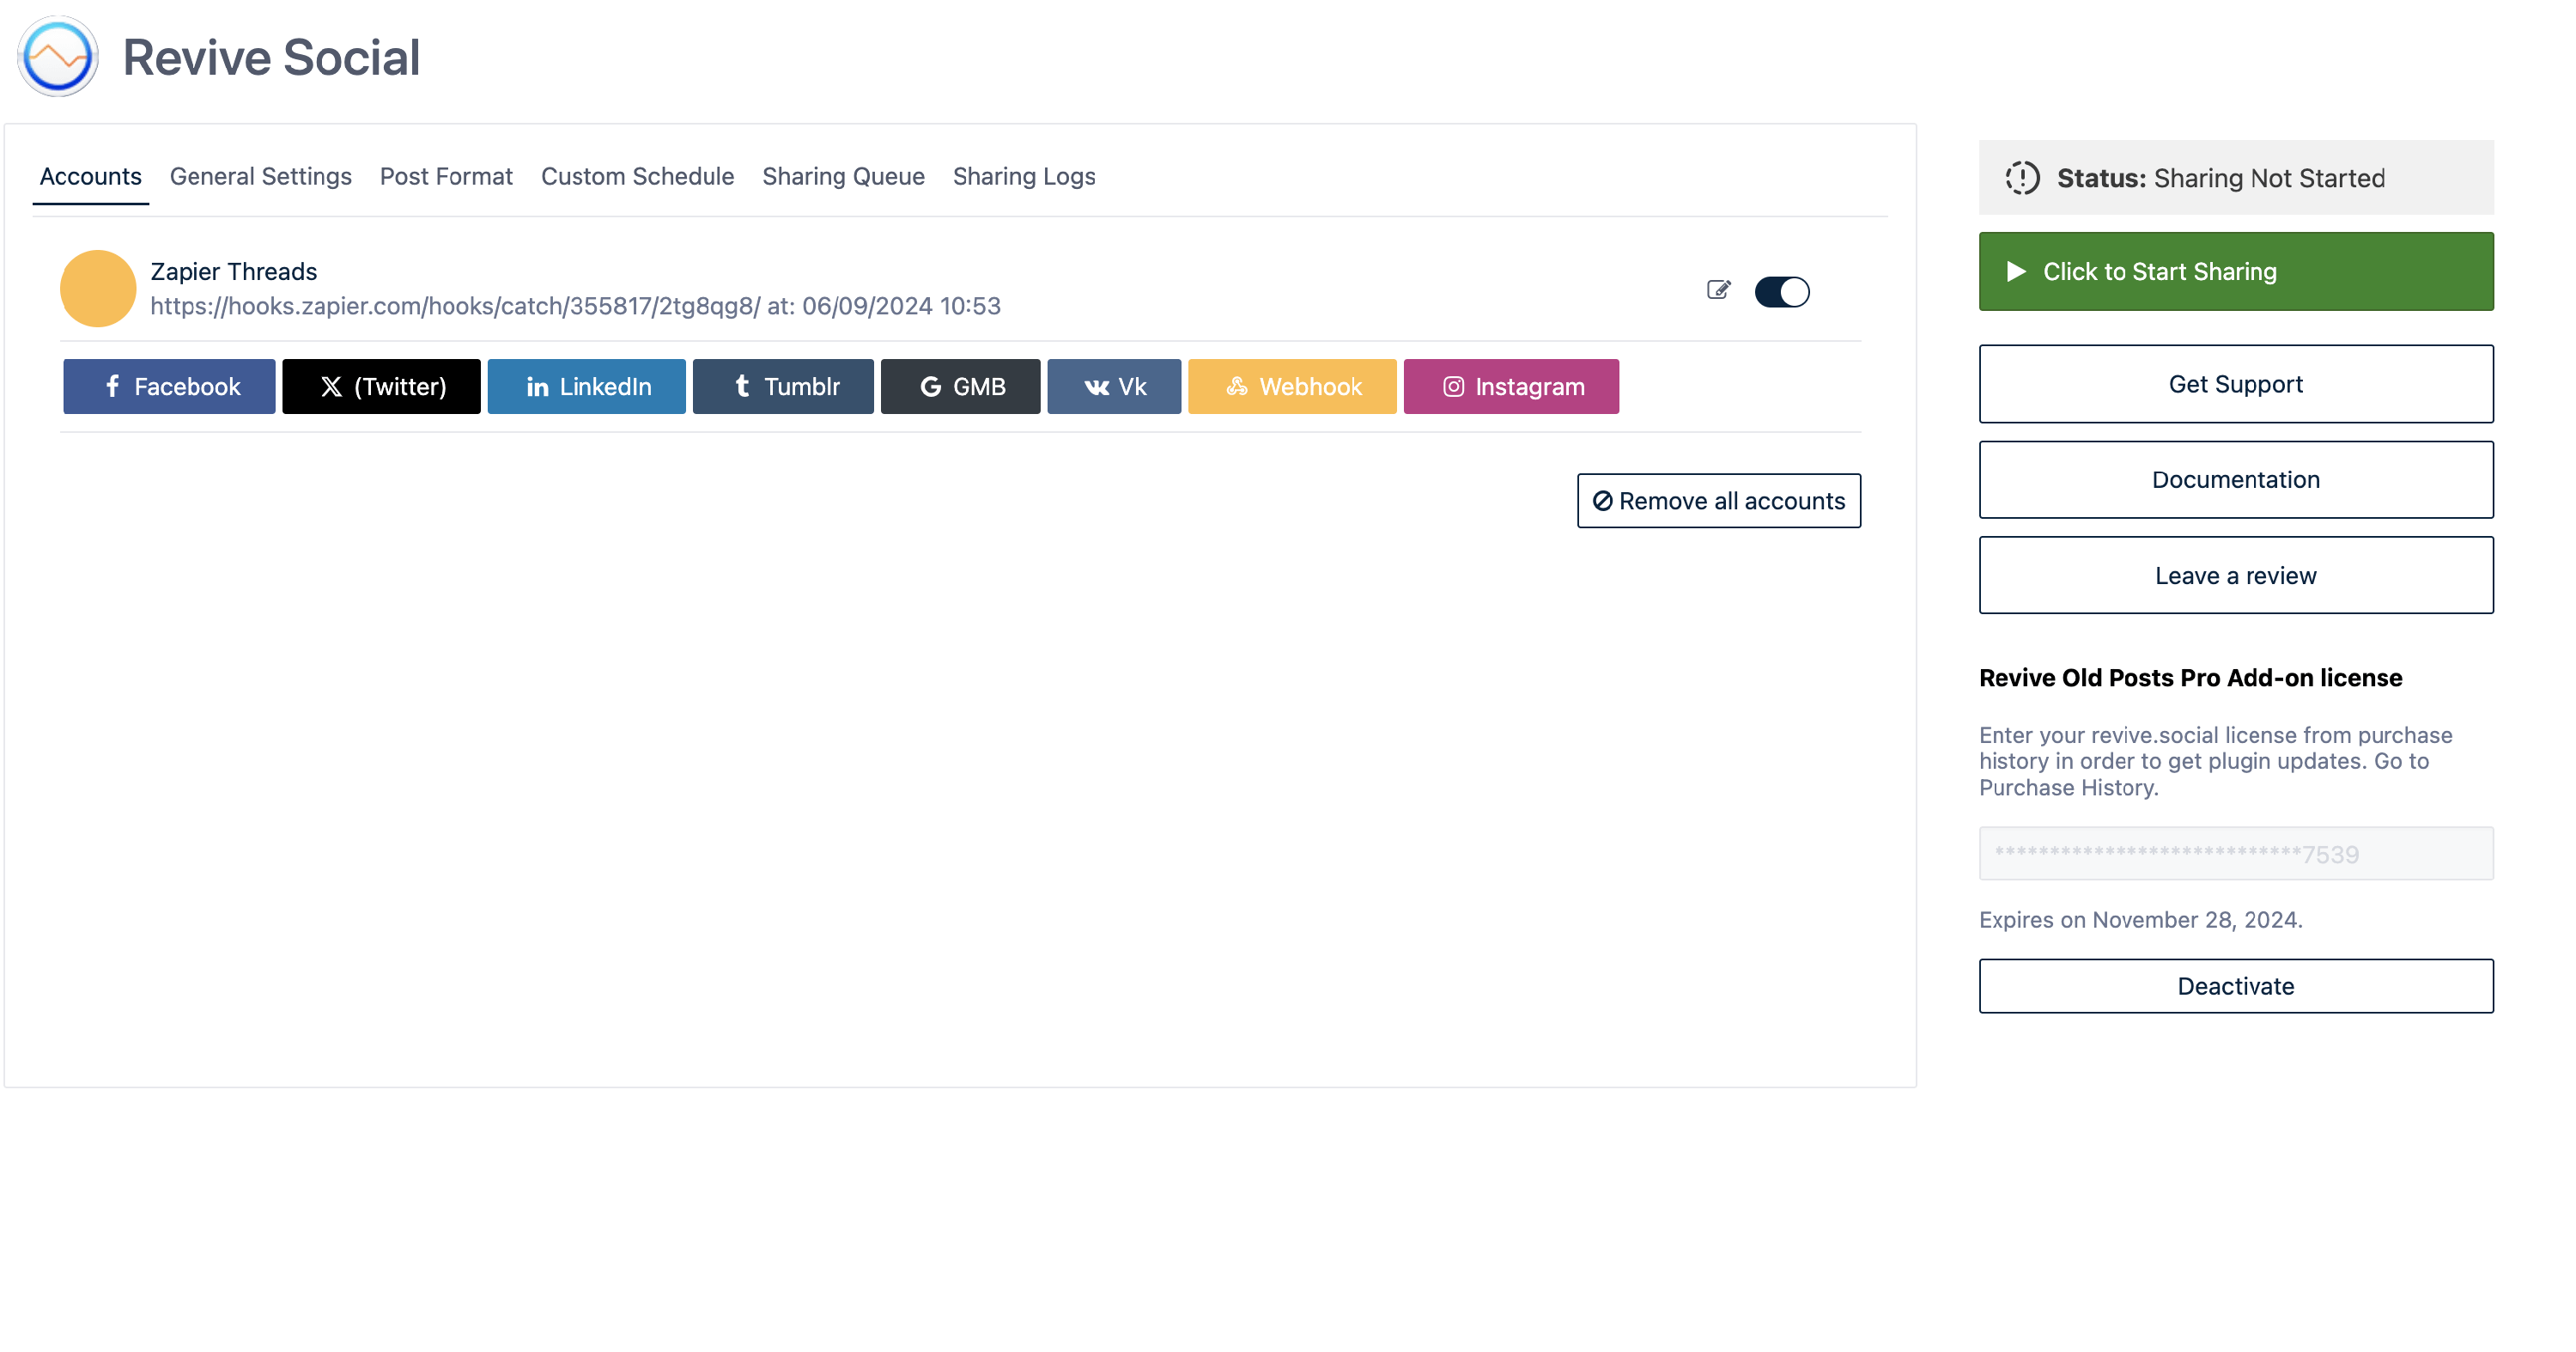
- After the page is reloaded, you will see your account added.
Step 4: Creating a test post
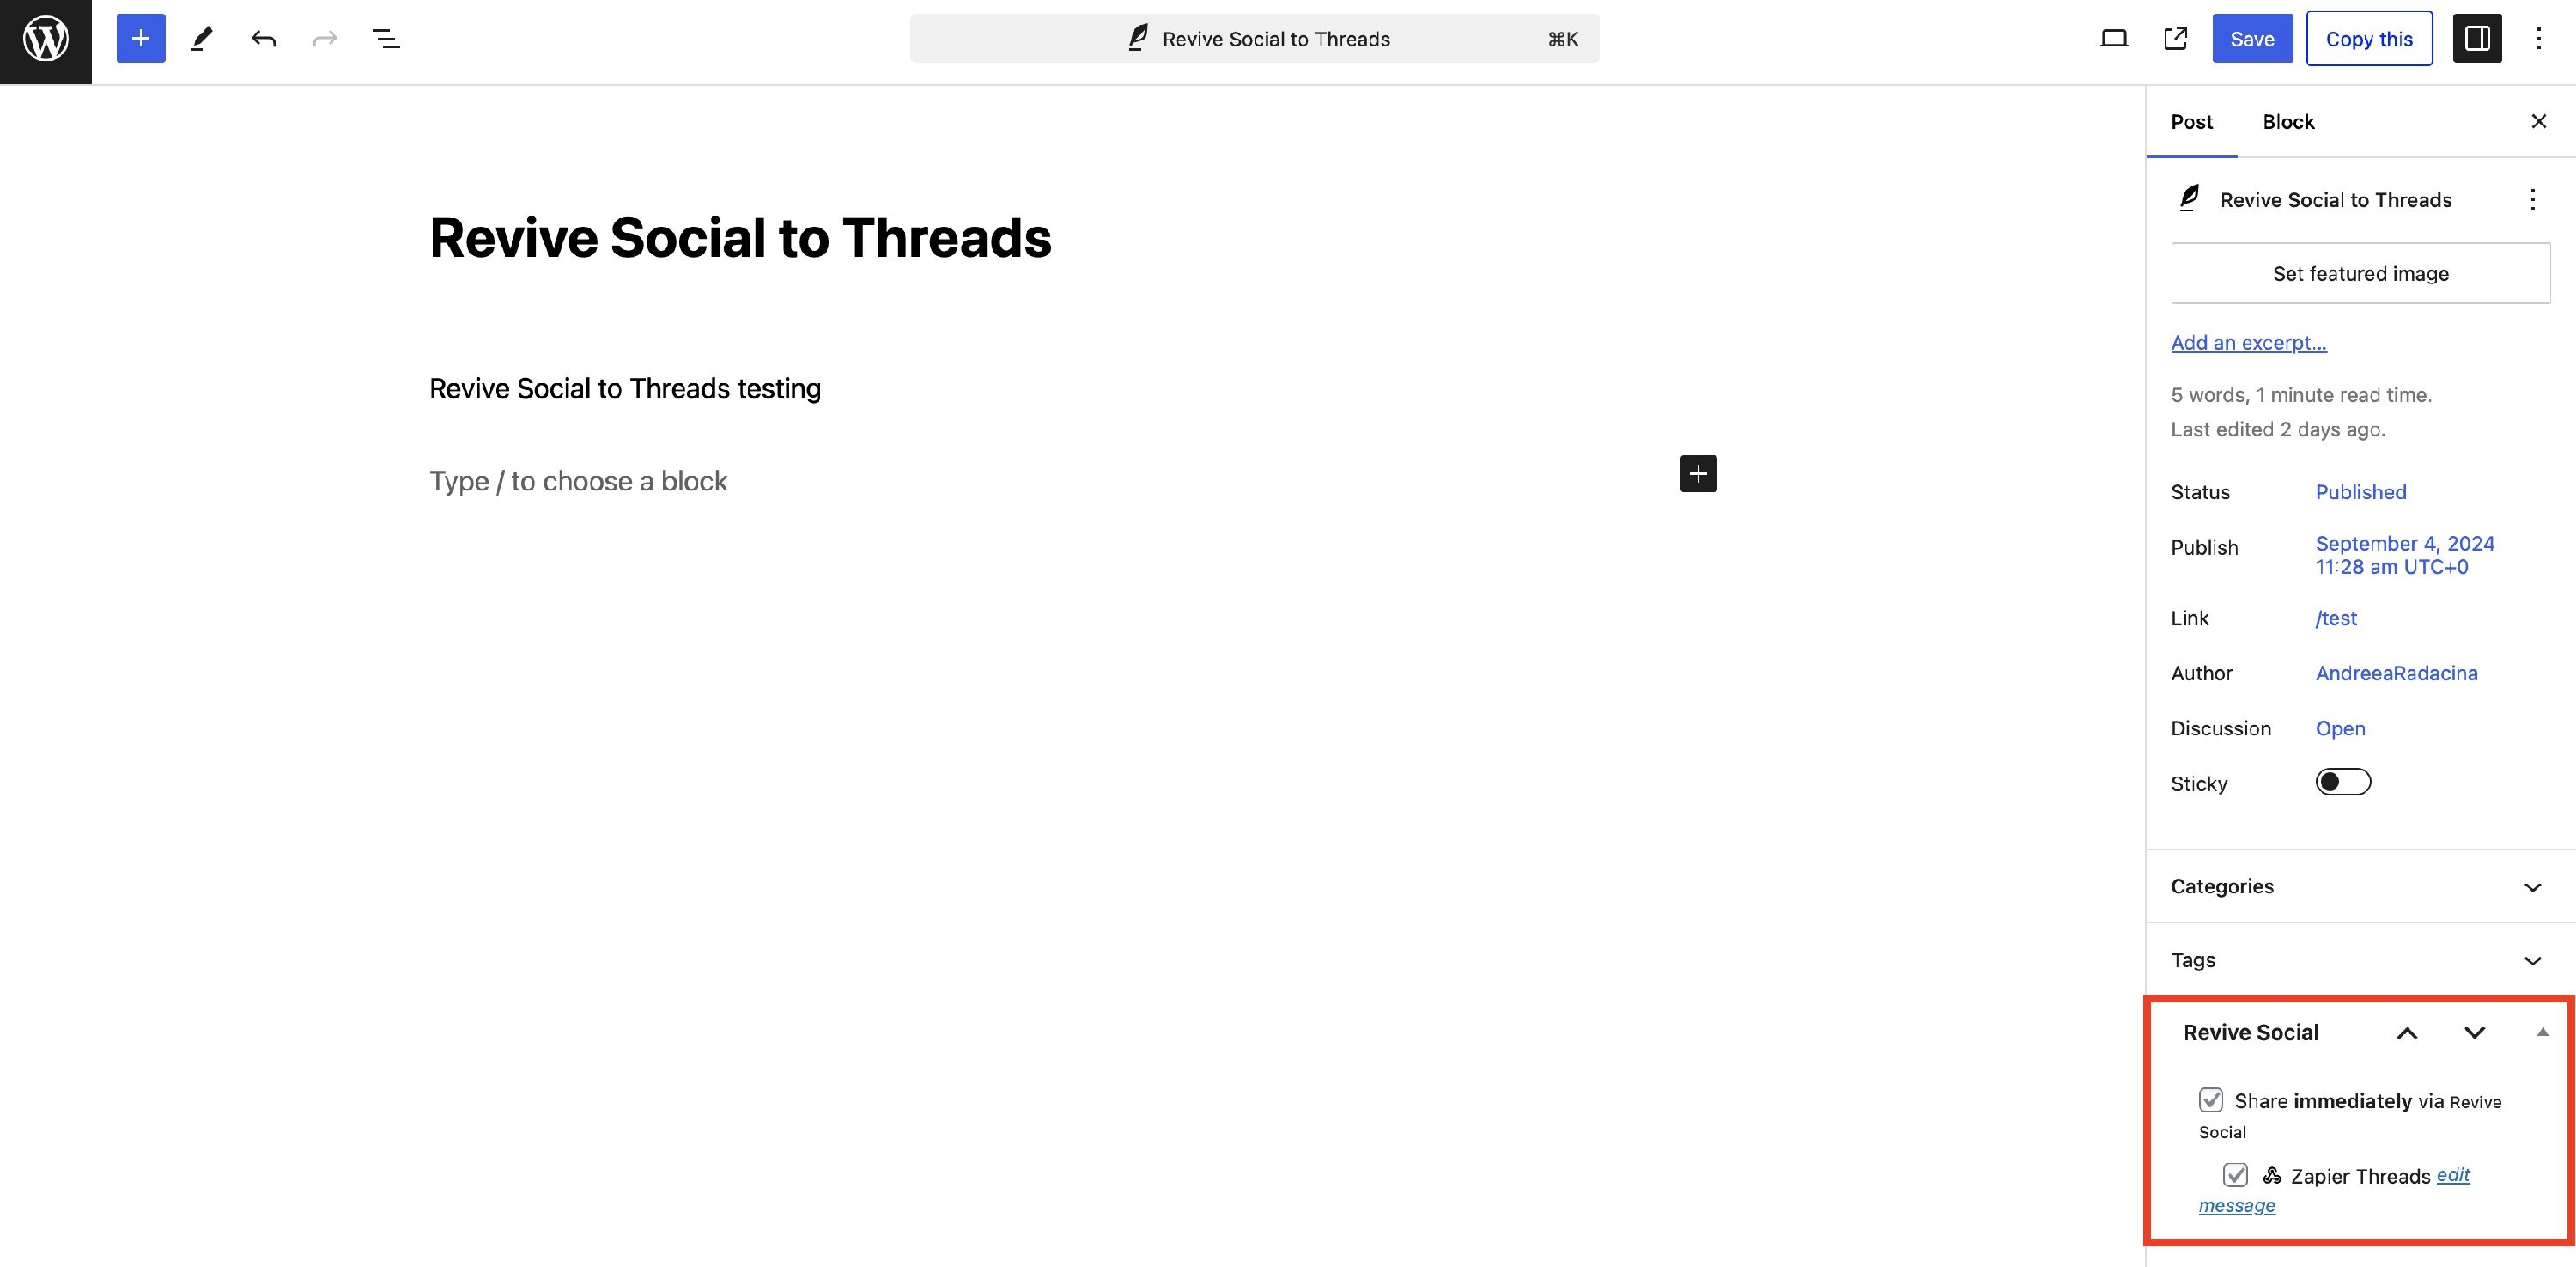
- Create a new sample Post on your website and give it a suggestive title.
- By using the Instant Share feature, select your newly added Webhook account.
Step 5: Checking the sharing
- Go to the plugin Dashboard.
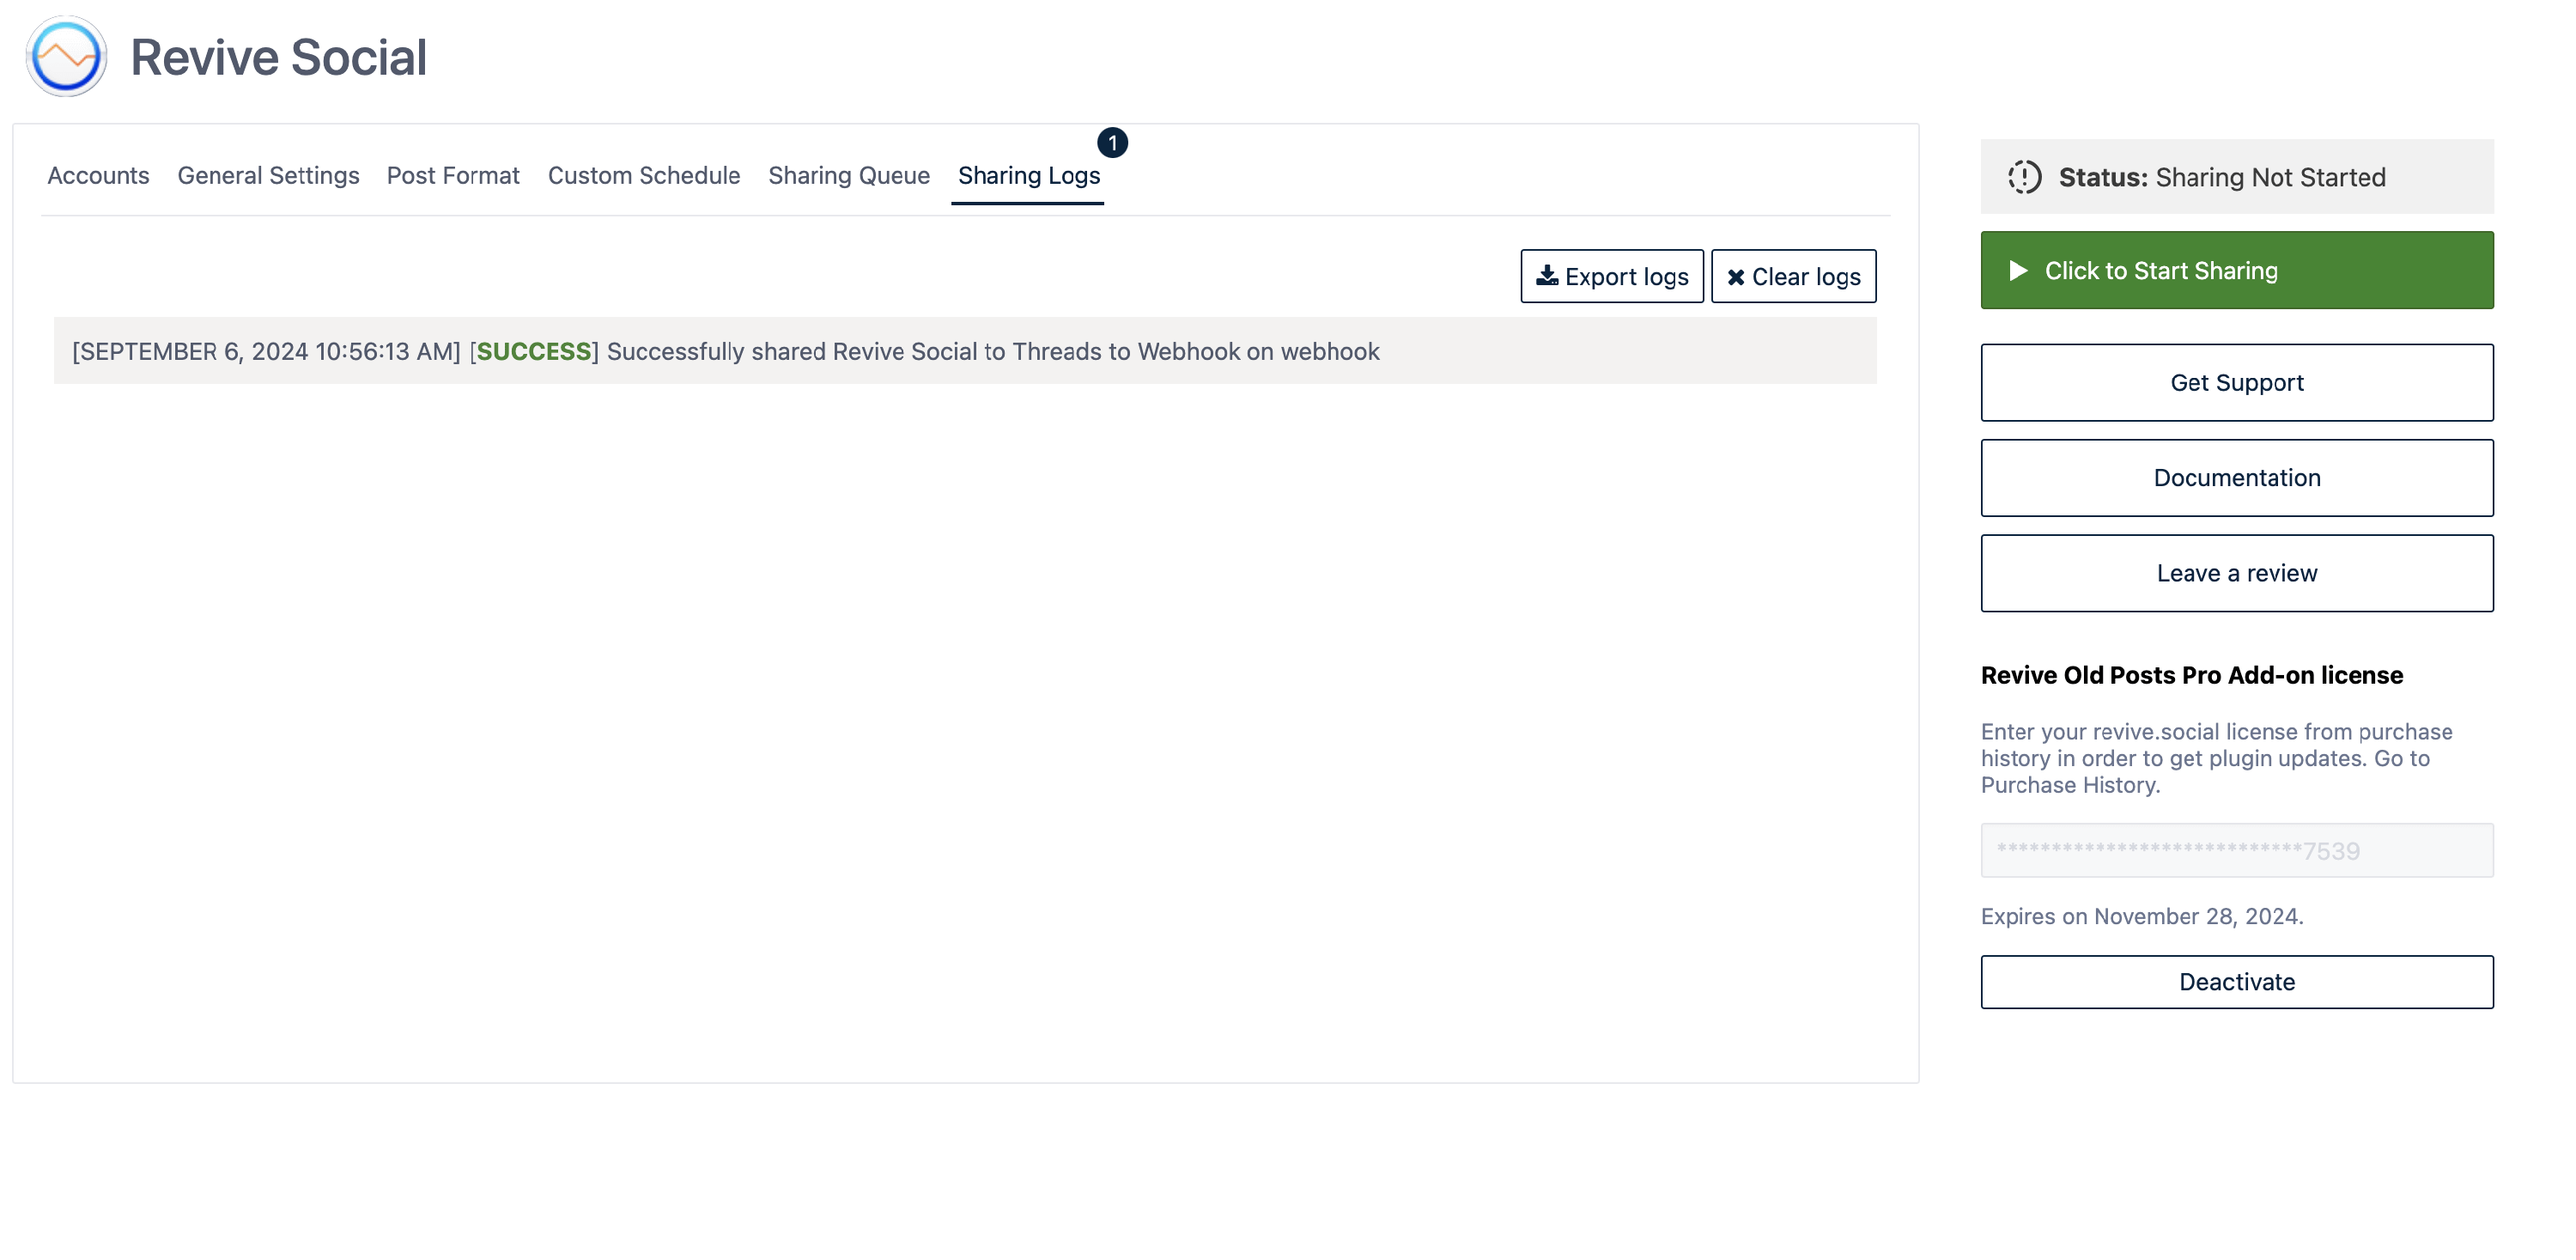
- Select the Sharing Logs tab.
- Check for the successful message sharing of the post.
Step 6: Making Zappier aware of the payload structure
- Go back to your previously created Zap in Zapier.
- Click on Webhook action and select the Test tab.
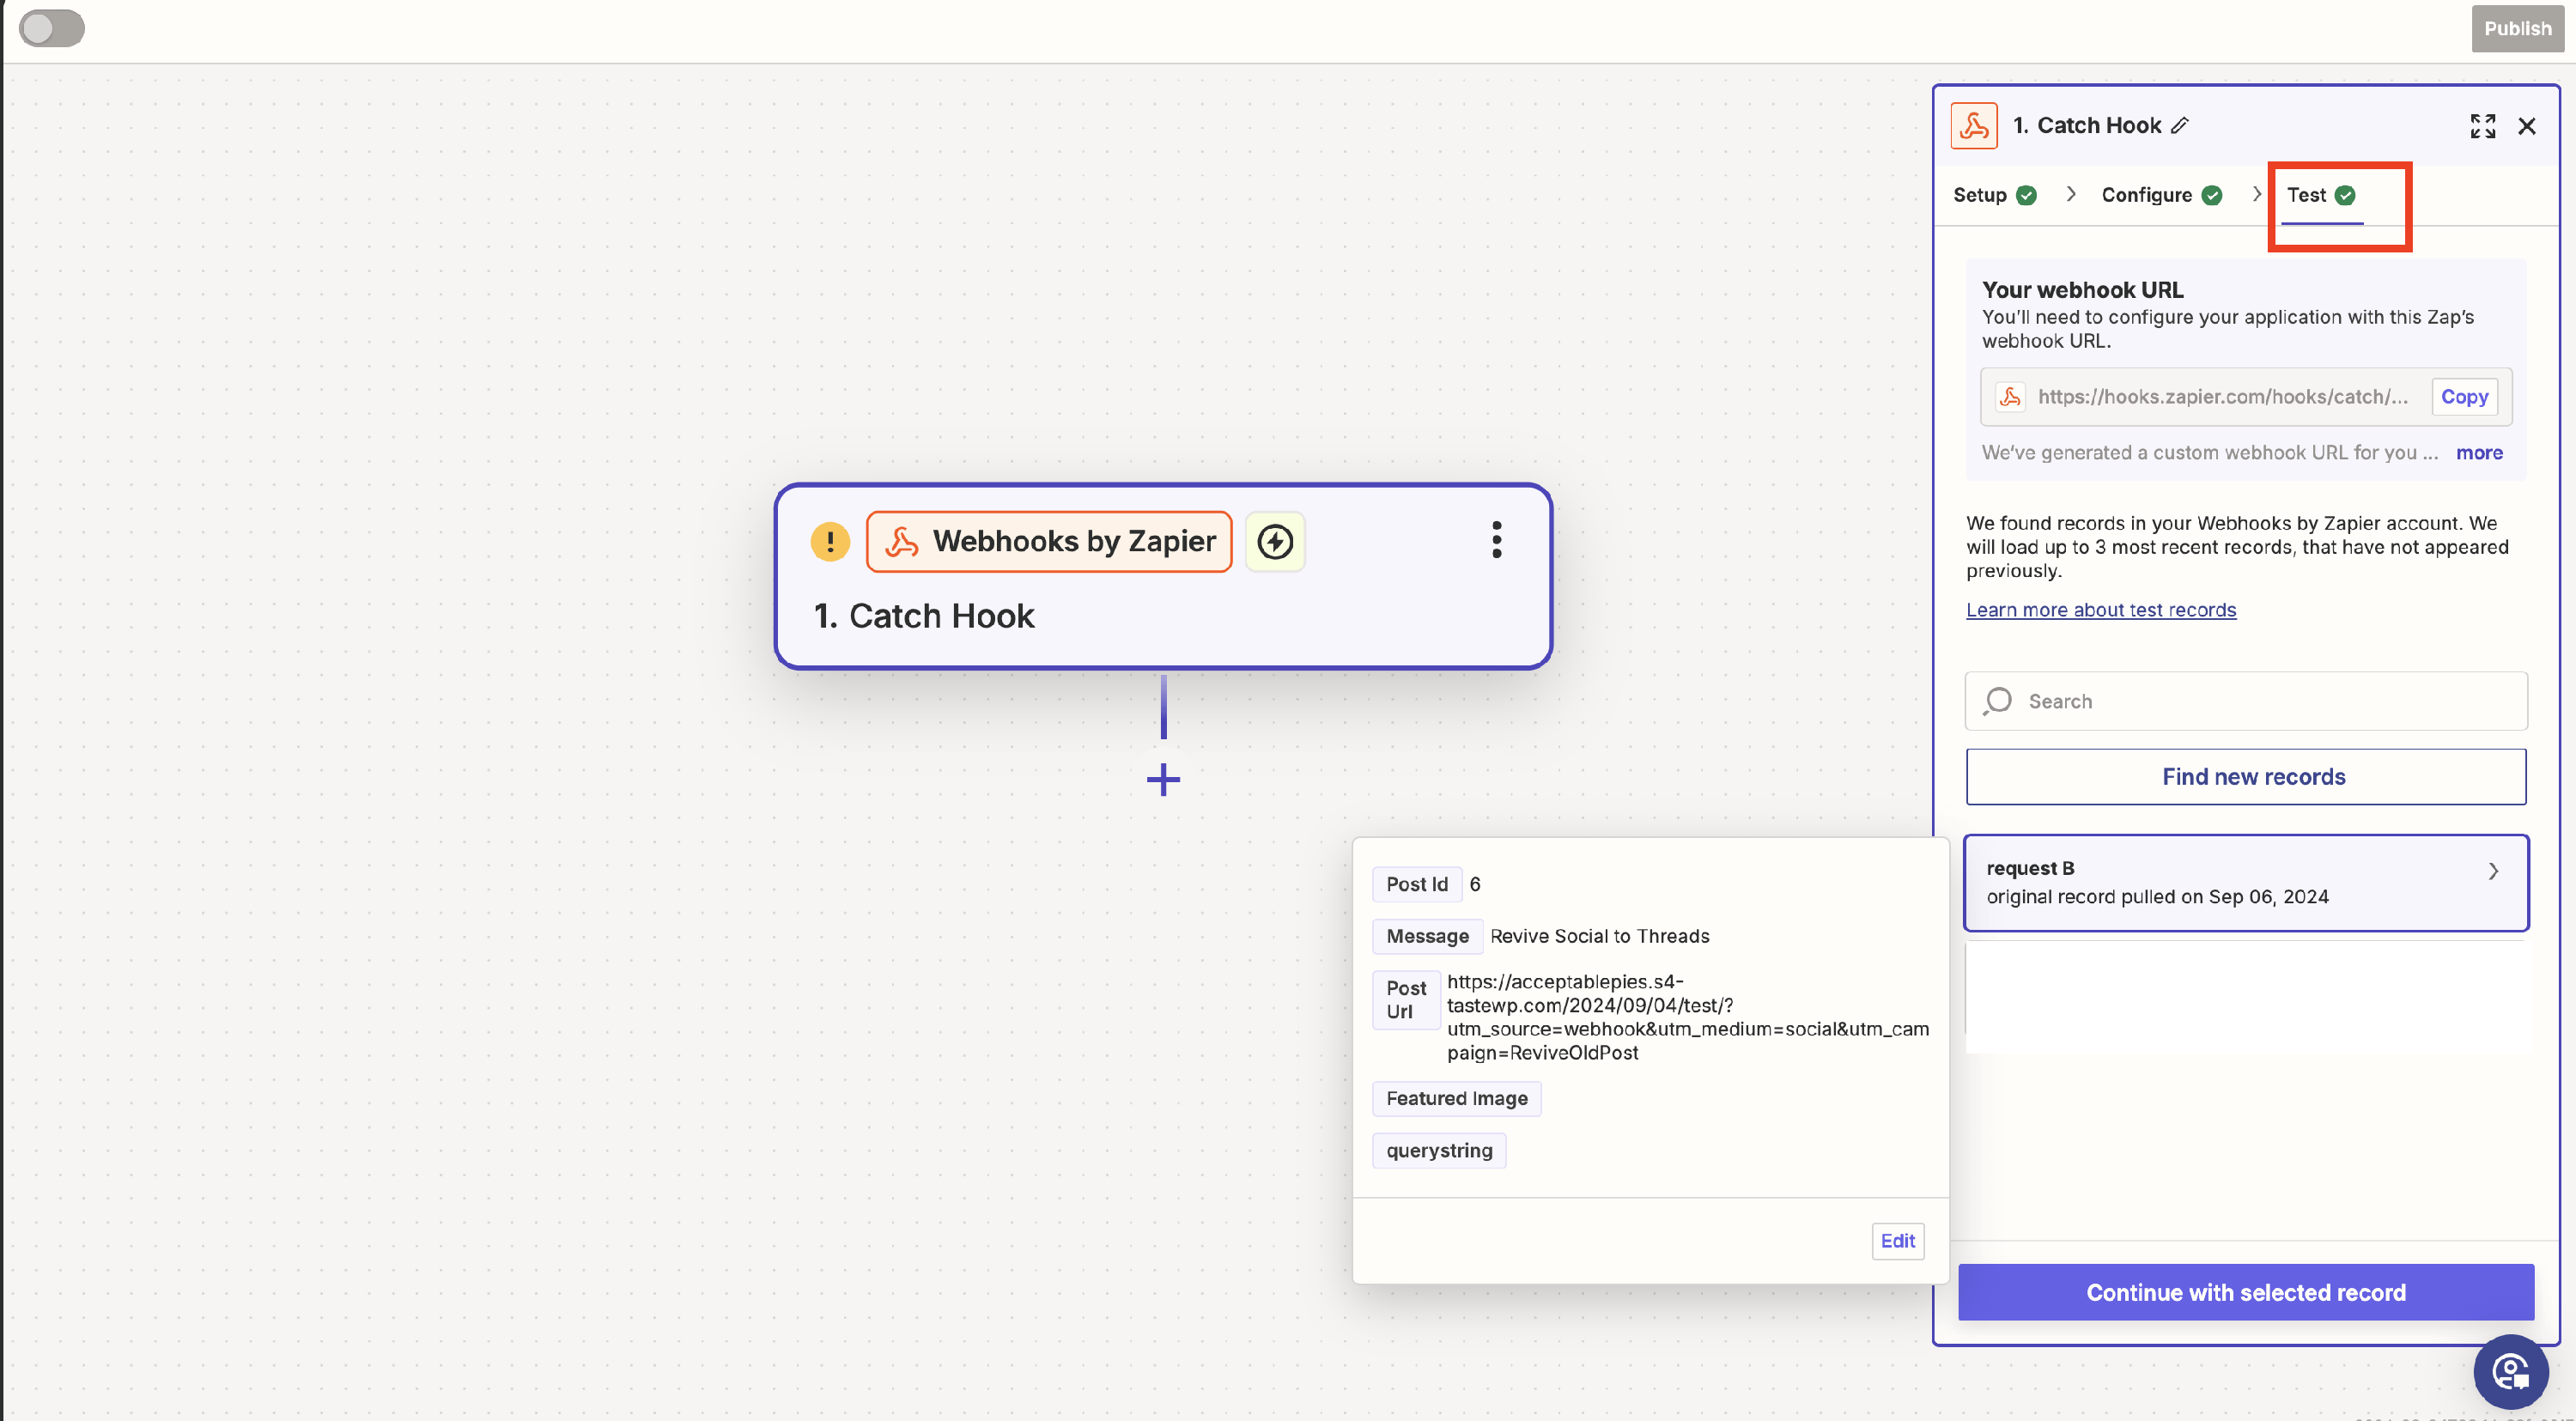
3. Click on Test Trigger or Find new records. 4. Check the payload structure displayed and click on Continue with the selected record.
Step 7: Set Up a Threads action
📝 Note: To connect Threads with Revive Social, you need to subscribe to Unshape. It's a separate subscription, so just purchase it first, and you'll be ready to connect the two seamlessly.
- Click on the "+" button to add a new action.
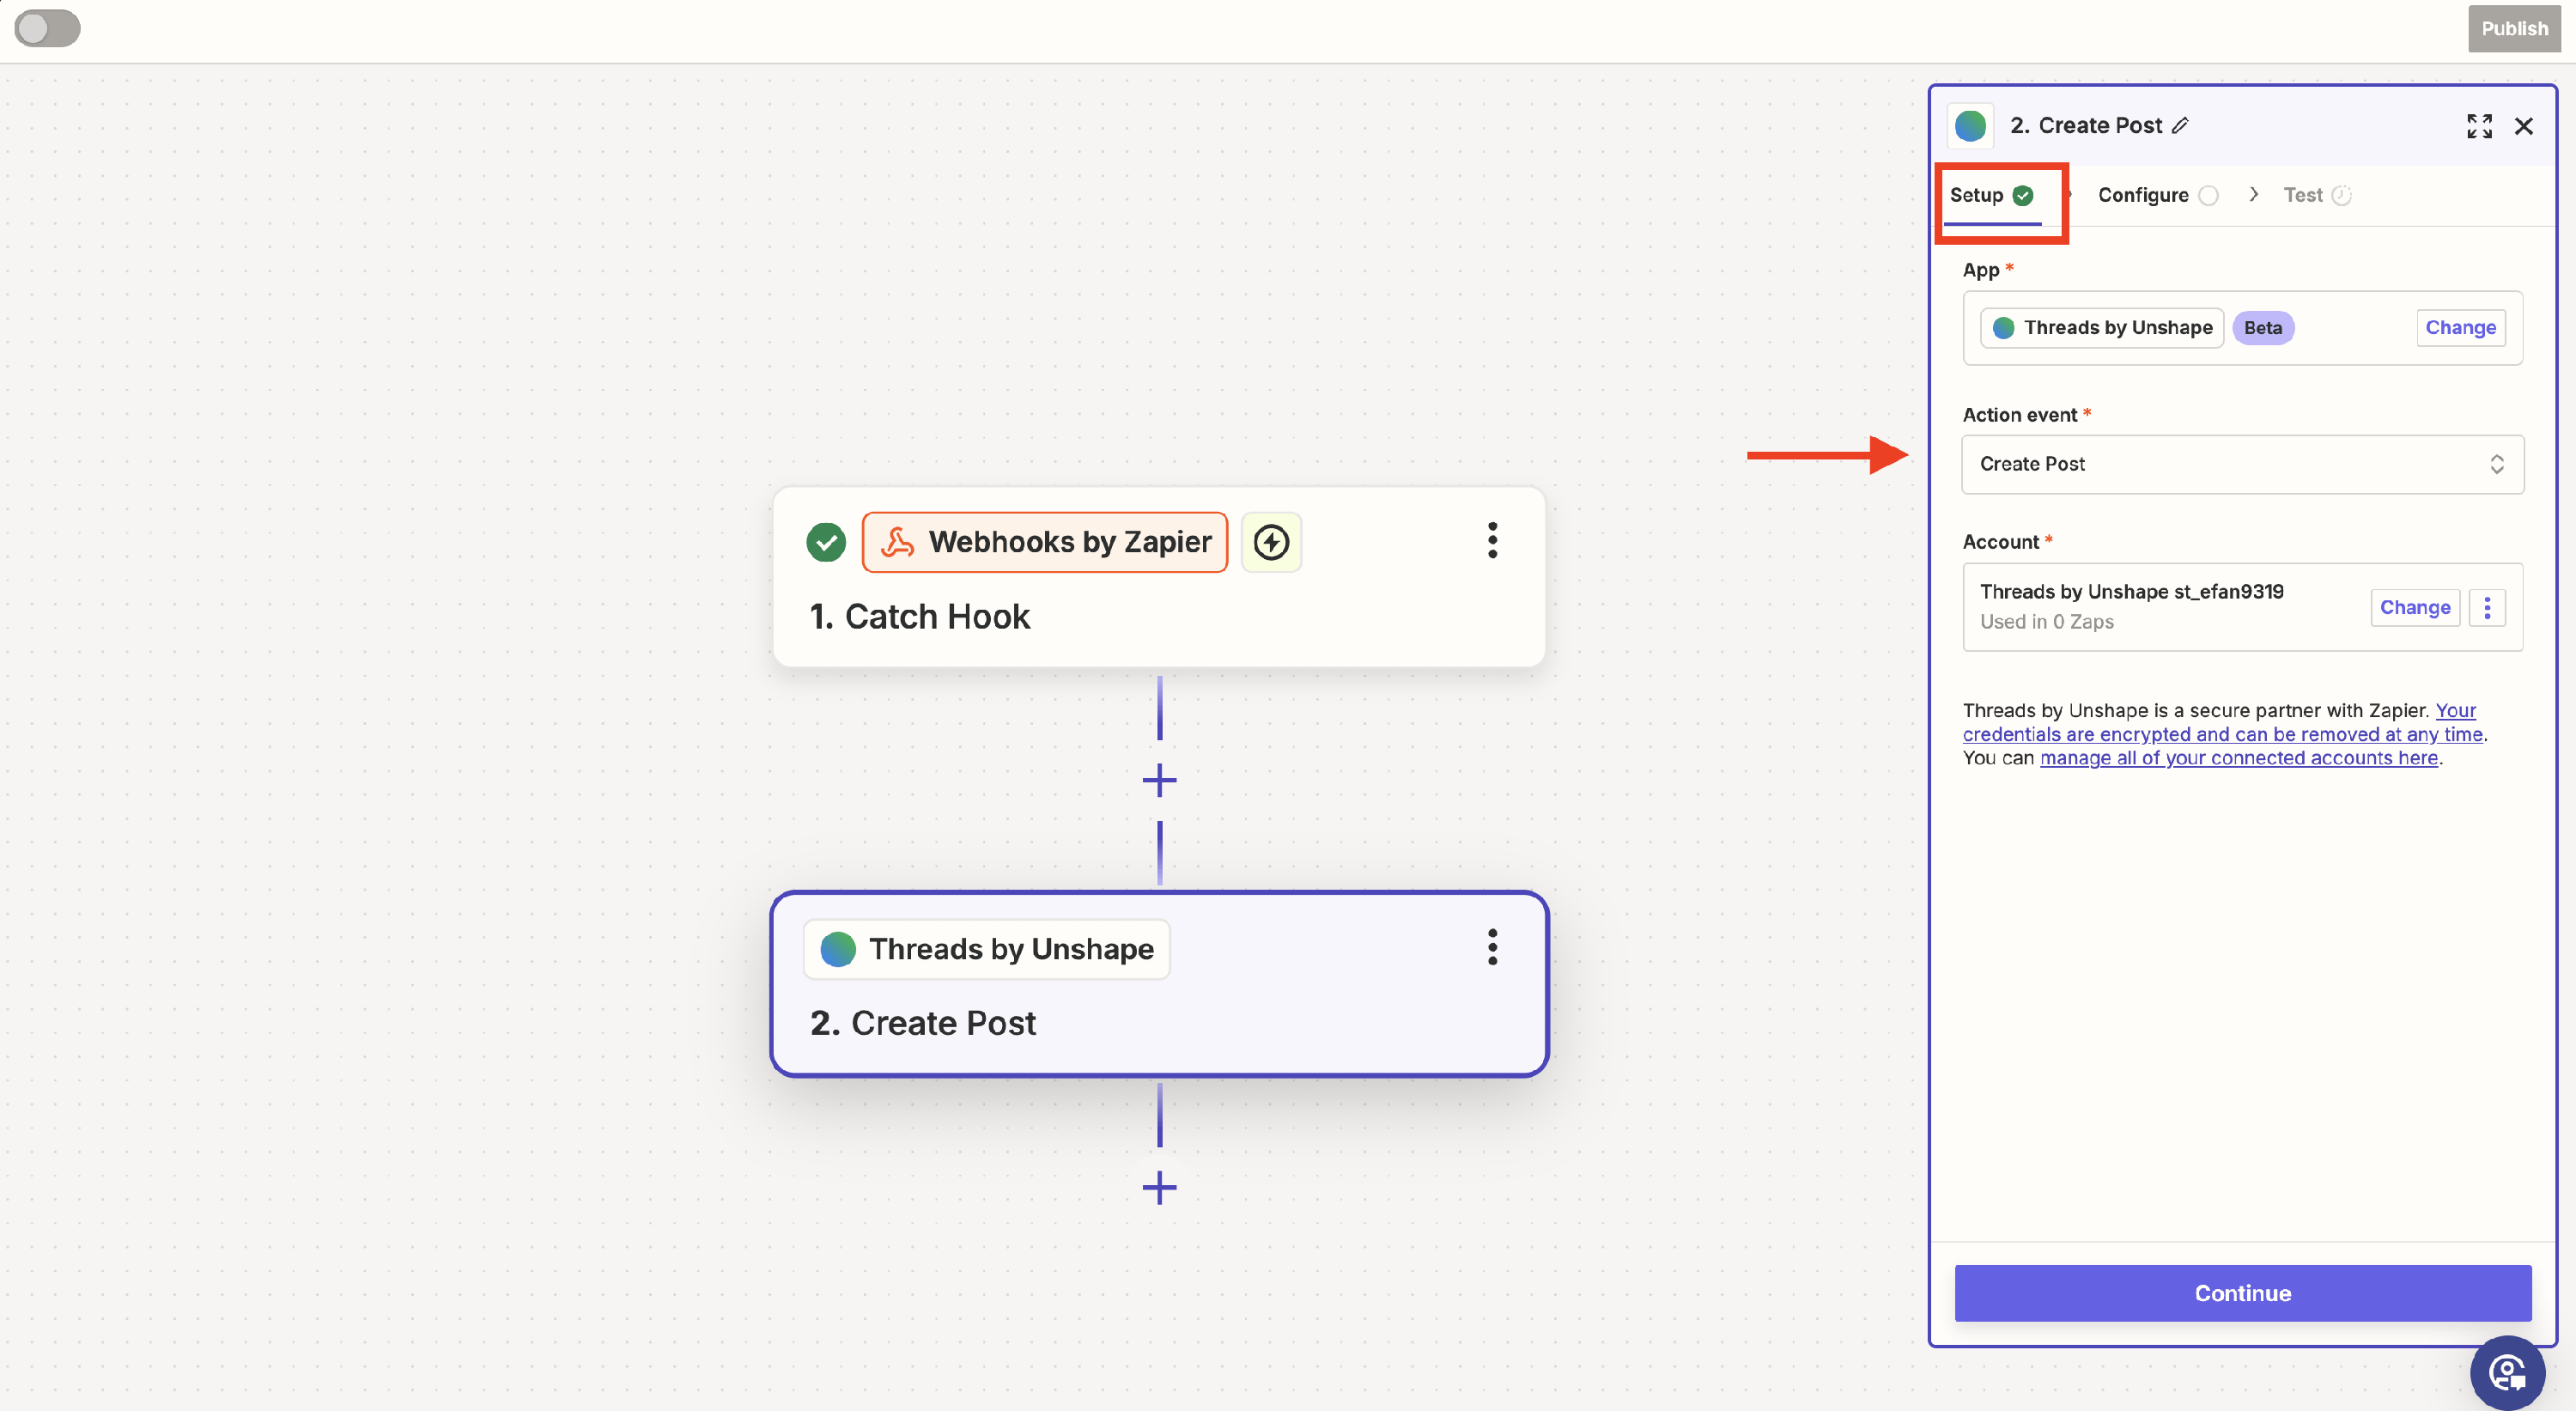
- Select Threads by Unshape from the list.
- Choose the action you want to perform (e.g., Create Post) and click "Continue."
- Connect your Threads account and click "Continue".
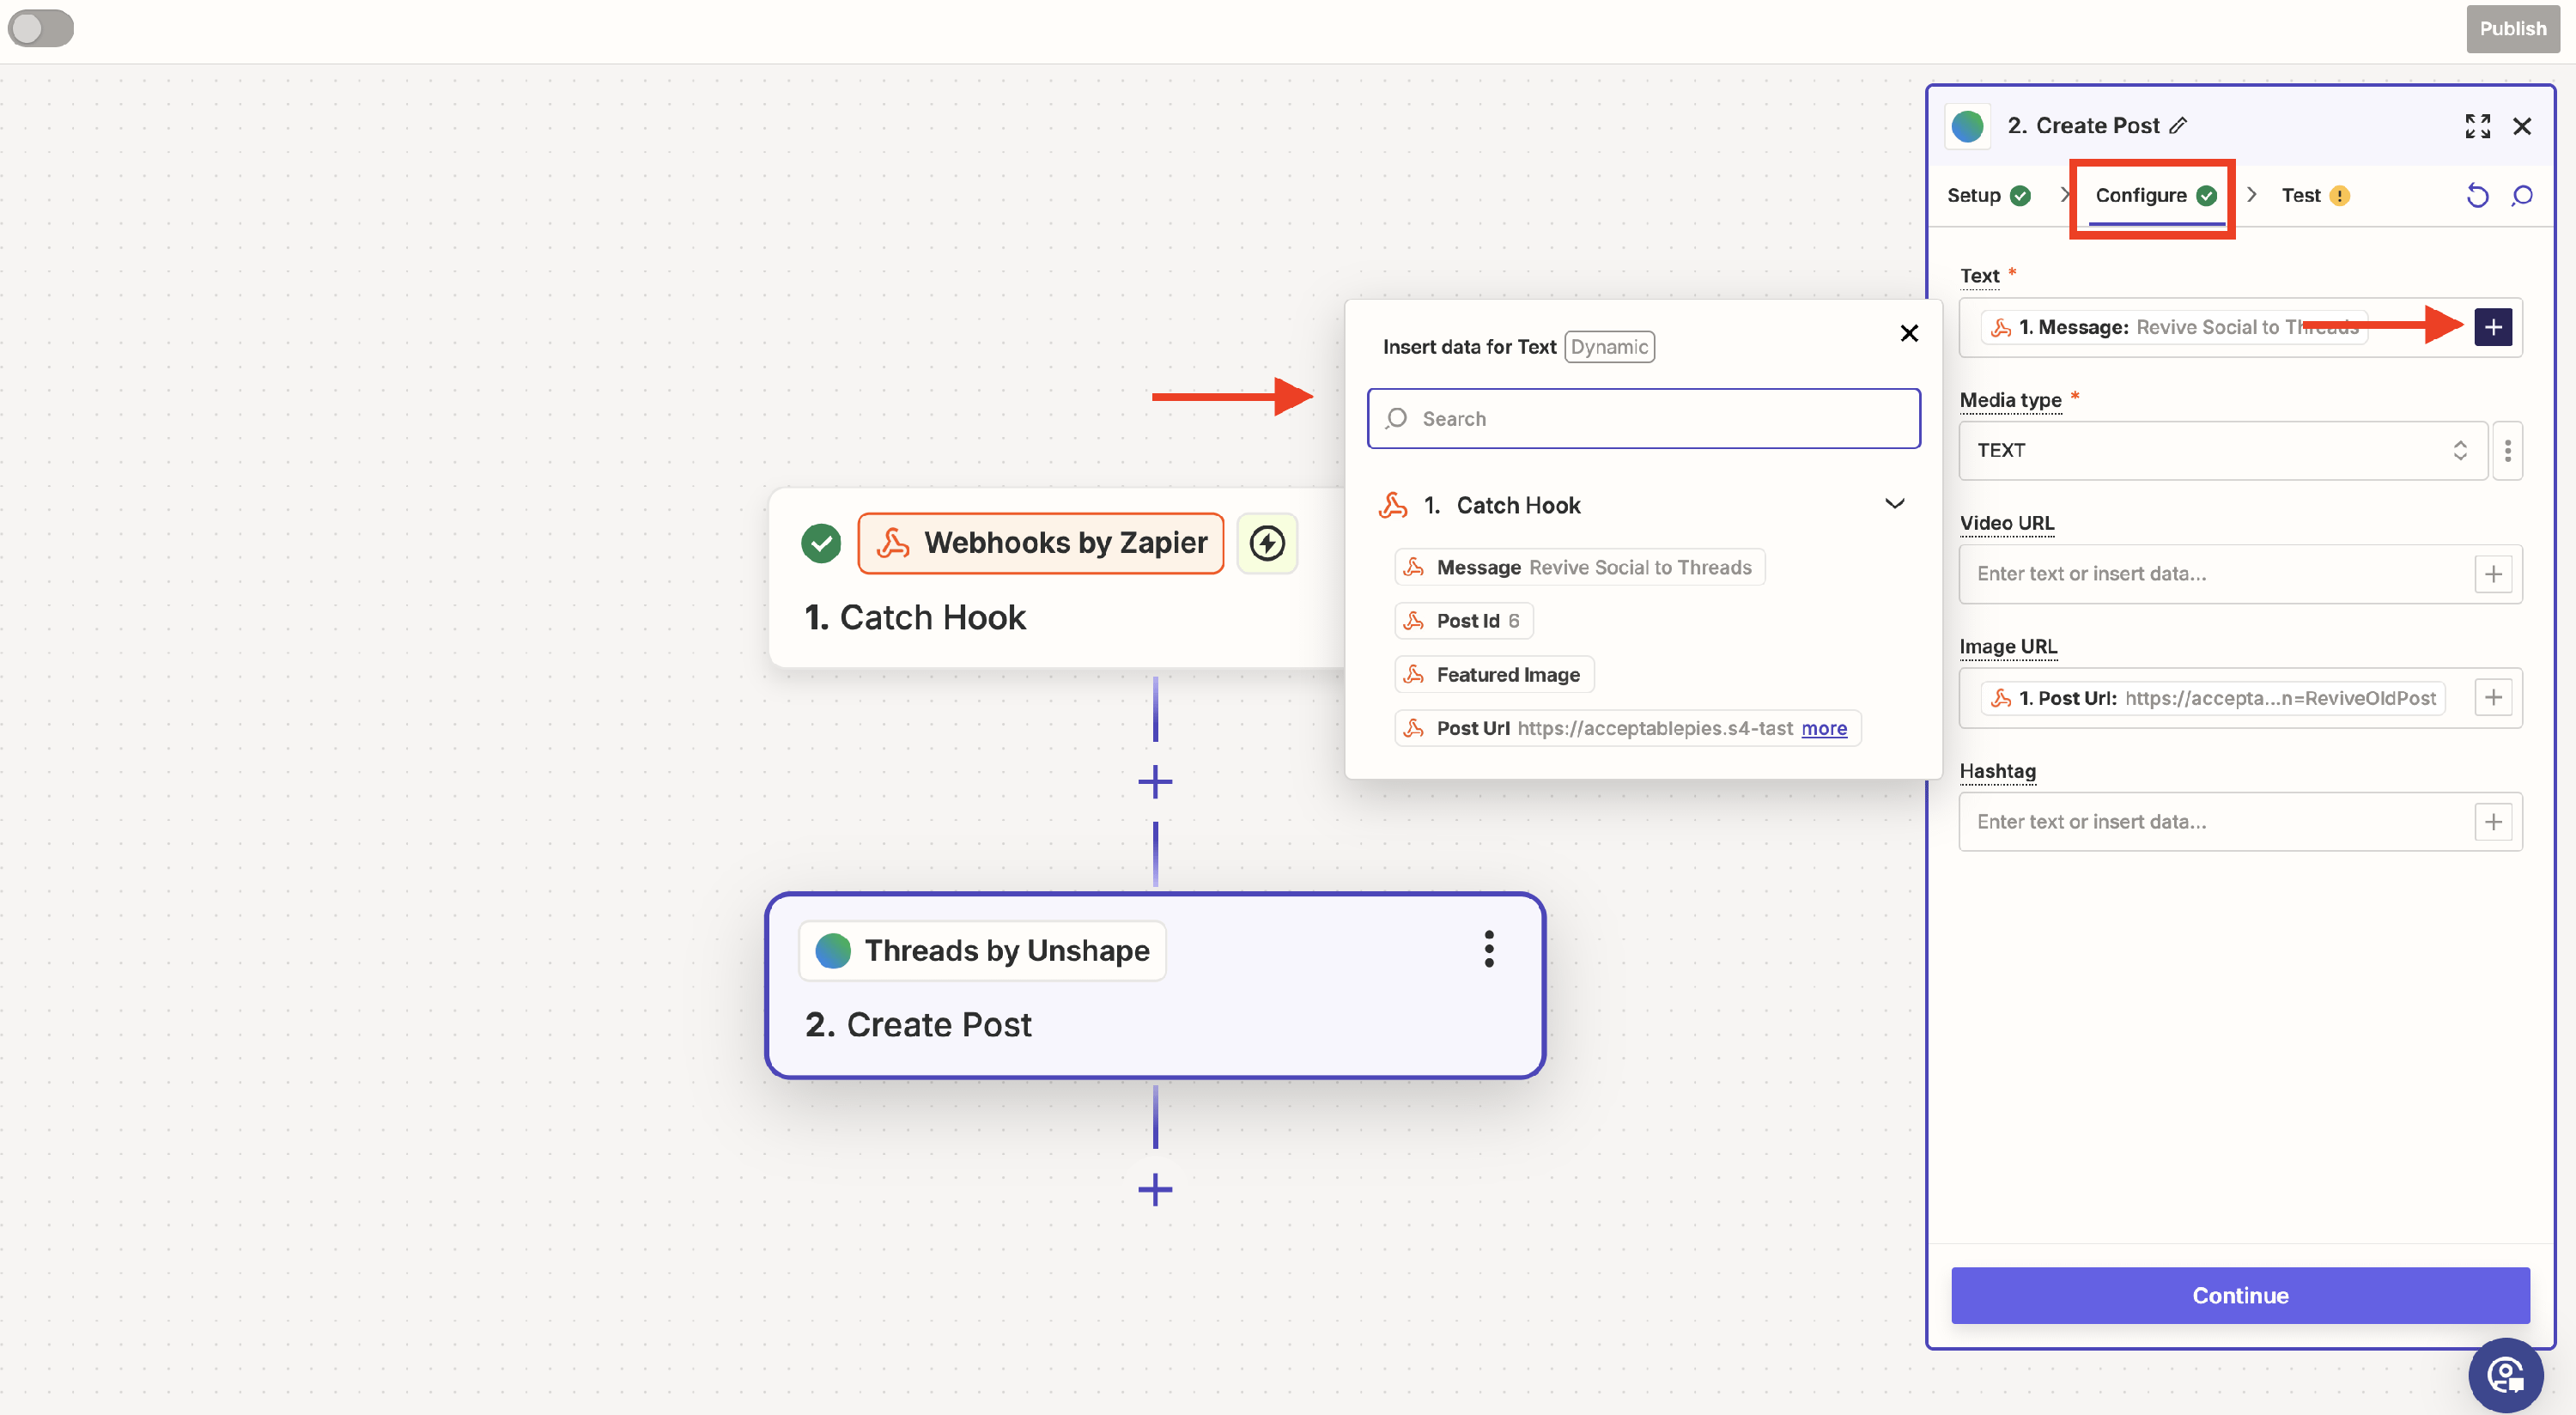
- Fill the other fields with the data from the webhook. If you click on the plus button, you should see a nice dropdown with the data from the post.
- Click "Continue".
- Test your integration by clicking on Test Step.
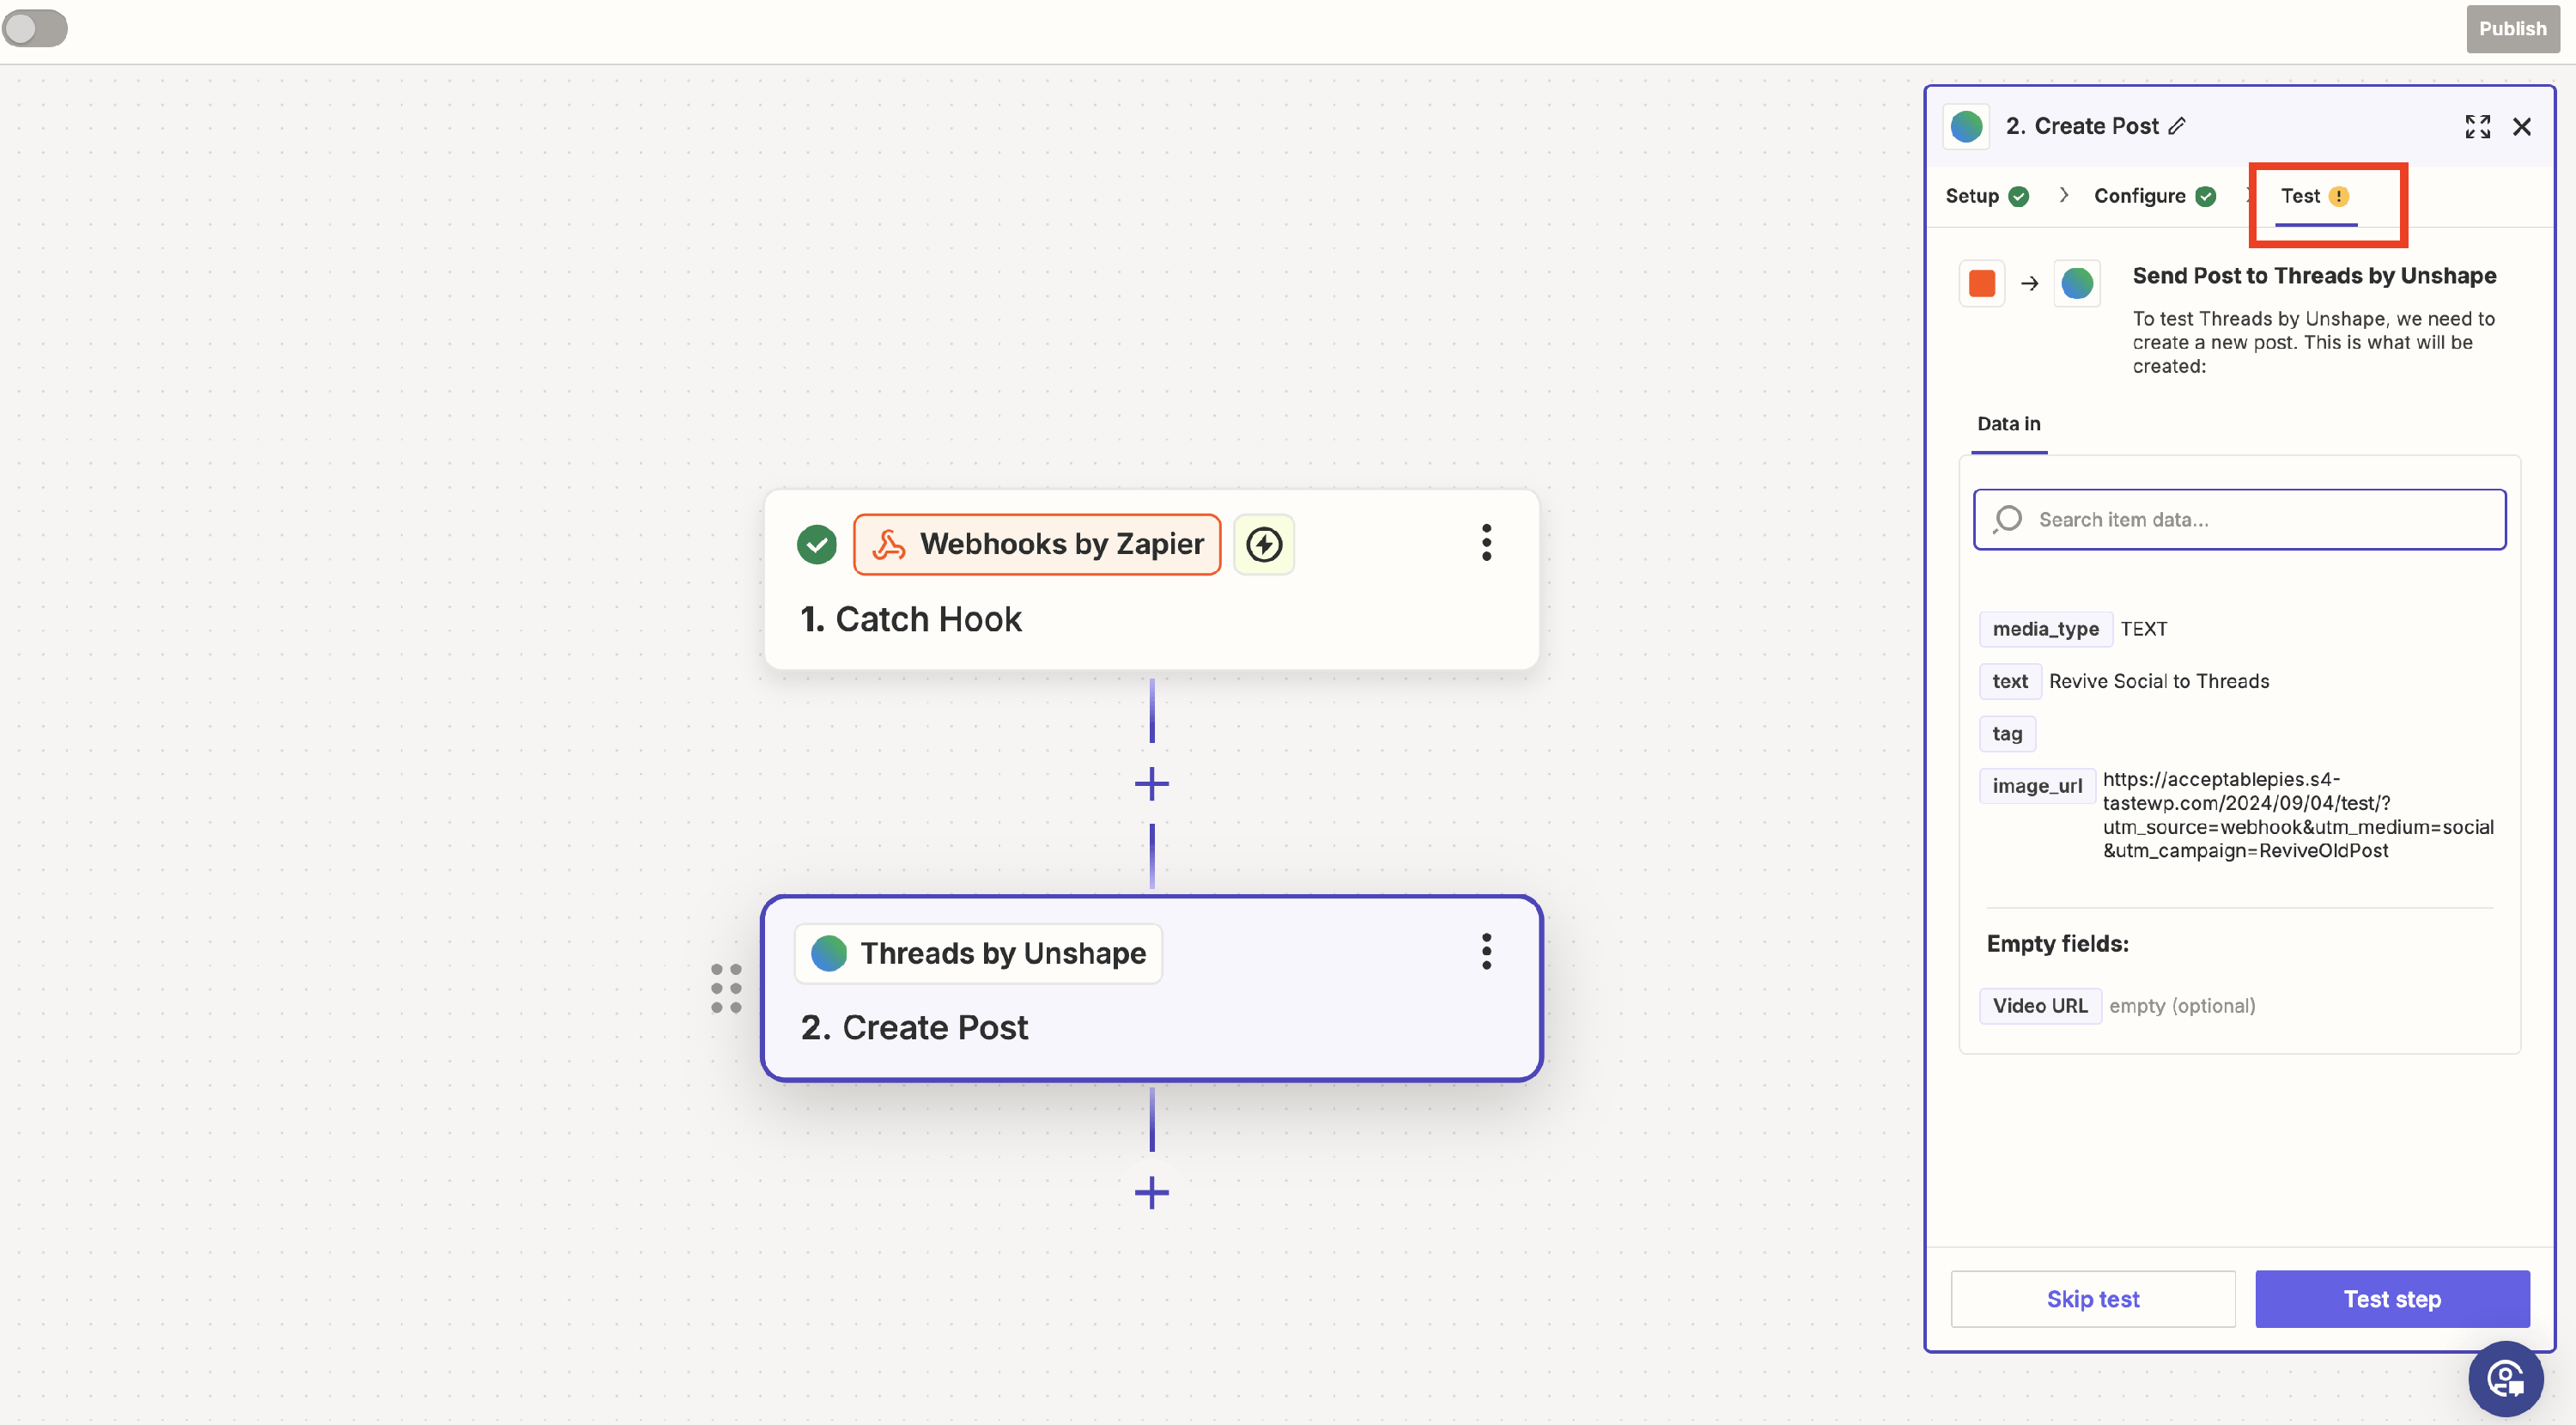
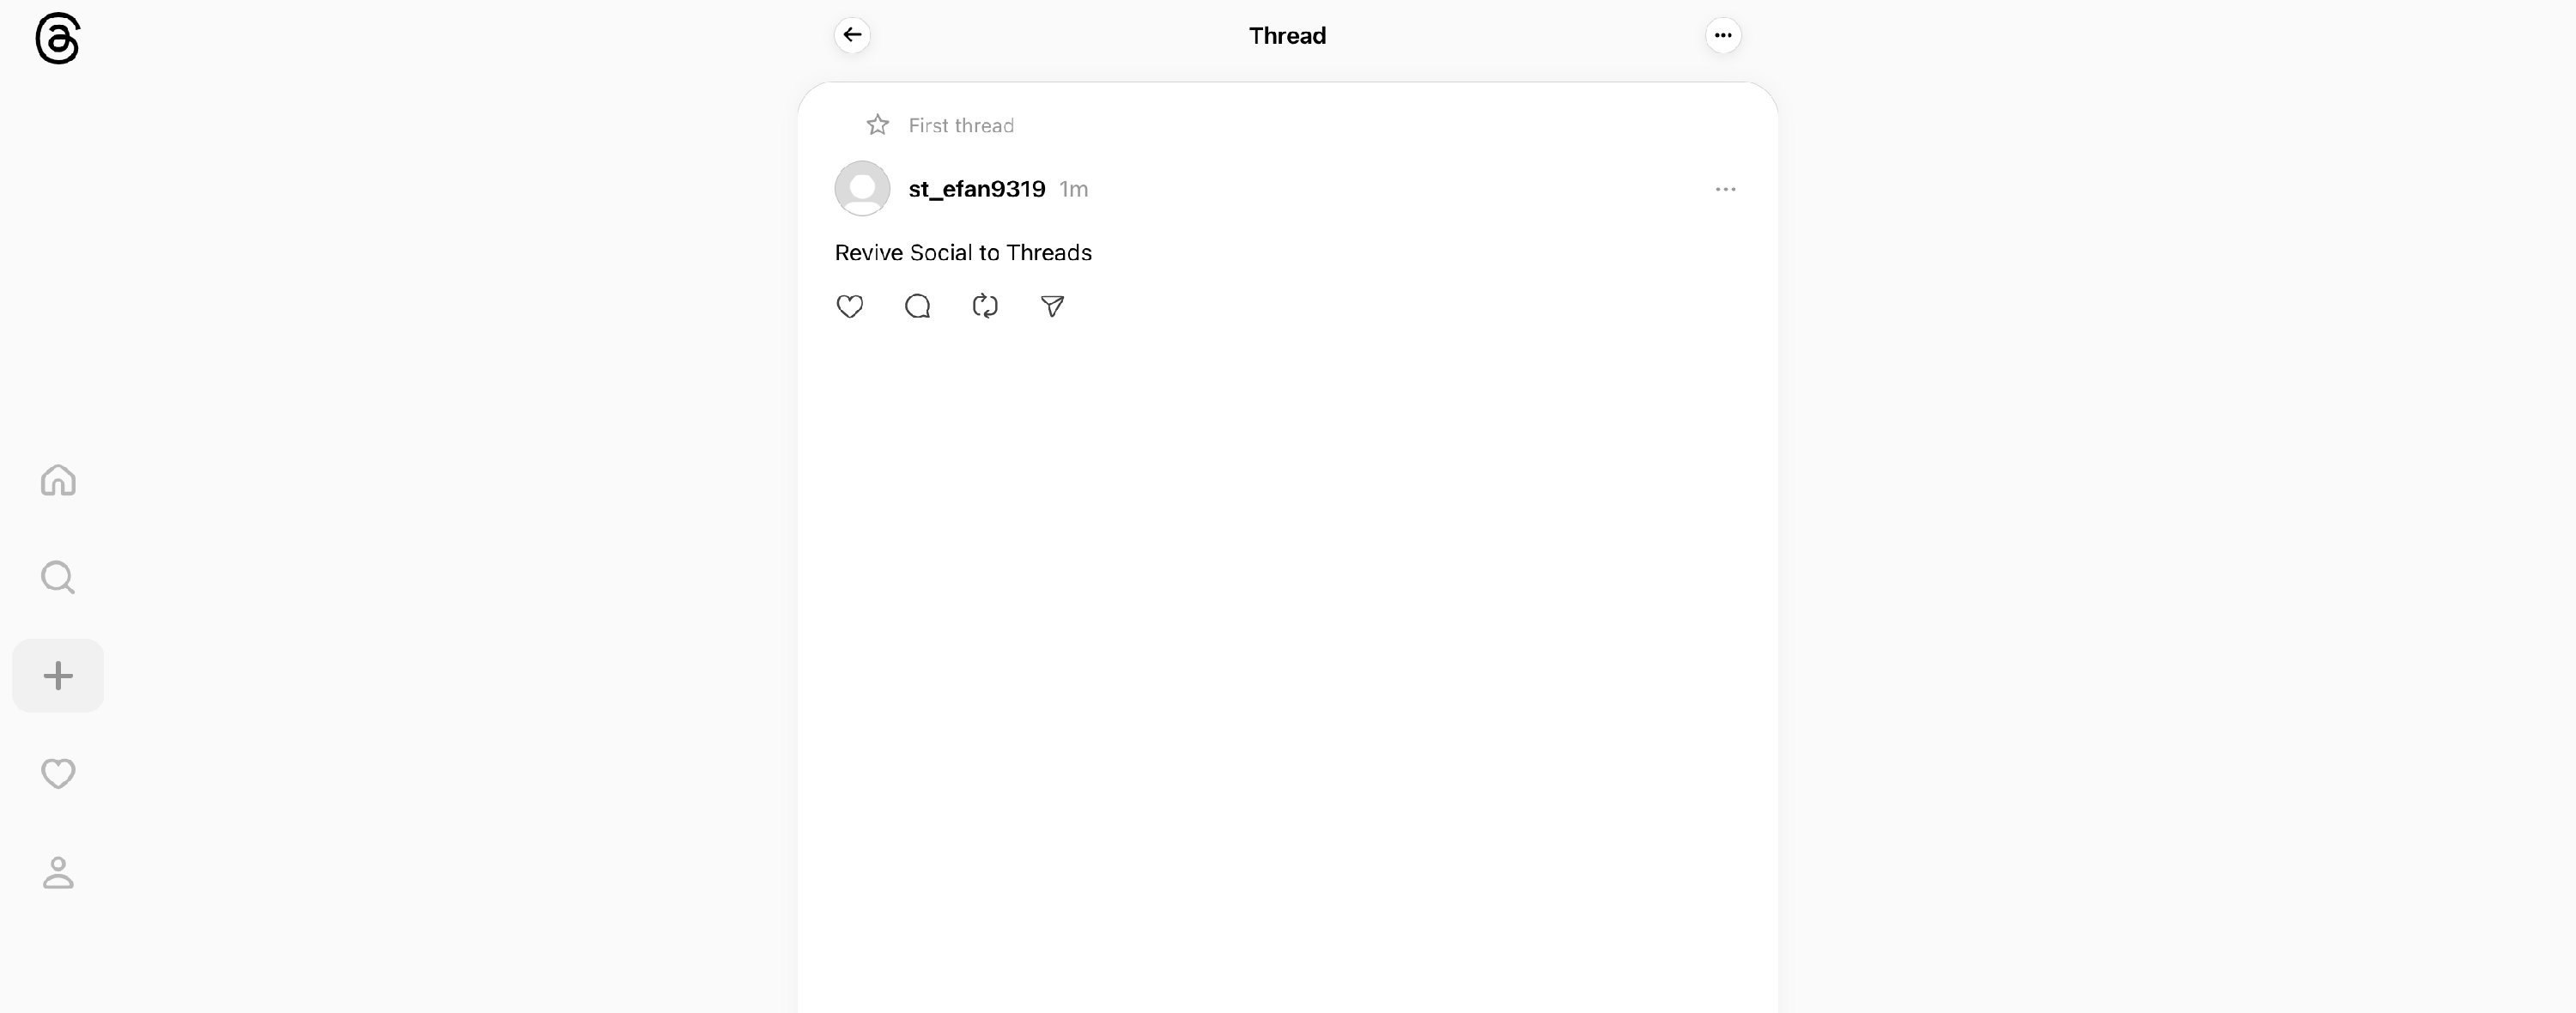
You should see a post on Threads with your data from the post.
If Instagram posting works but Threads is empty
If Revive Social is posting correctly to Instagram but no post appears on Threads, this usually does not mean your Revive Social Instagram connection is broken.
Use this checklist:
- Confirm your Instagram post appears in Revive Social Sharing Logs as successful.
- Open your Zap in Zapier and check that the webhook trigger receives the Revive Social payload.
- Check the Threads action step (for example, Threads by Unshape) for errors, missing fields, or authentication issues.
- Re-test the Zap with a new Instant Share post from your Webhook account.
If Instagram posting works but Threads still does not publish, troubleshoot the Zapier/Threads automation path instead of the Revive Social Instagram connection.
Happy automating!