
Appearance
How to use custom fields (Content + URL+hashtags) in Revive Social
In this tutorial, we are going to go through the process of using custom fields as a way to grab data for sharing.
To start, navigate to WordPress Dashboard > Revive Social > Post Format.
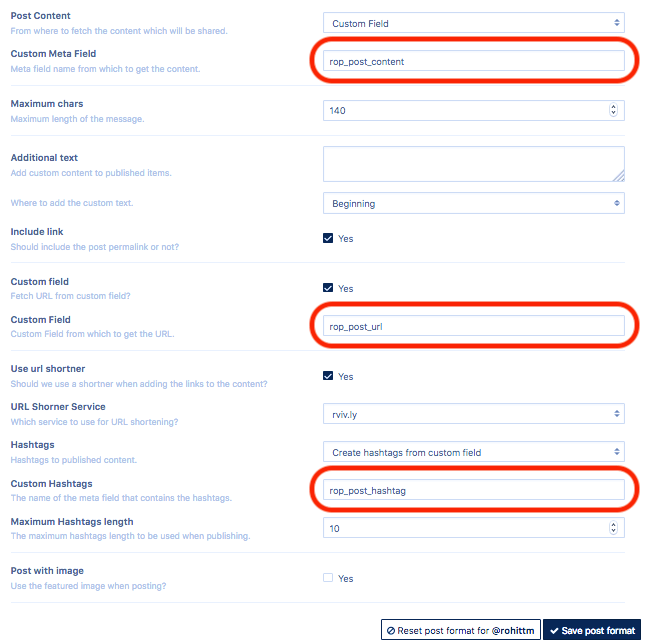
The image below shows how to enable the custom field option for Post Content, Post link, and Hashtags.

Now we've seen how to activate and enter your custom fields, let's see how to actually create them. If you are using a plugin to create custom fields on the posts screen you most likely already know how to get your custom field name. If you've never used a custom posts type plugin then this tutorial is more targeted at you.
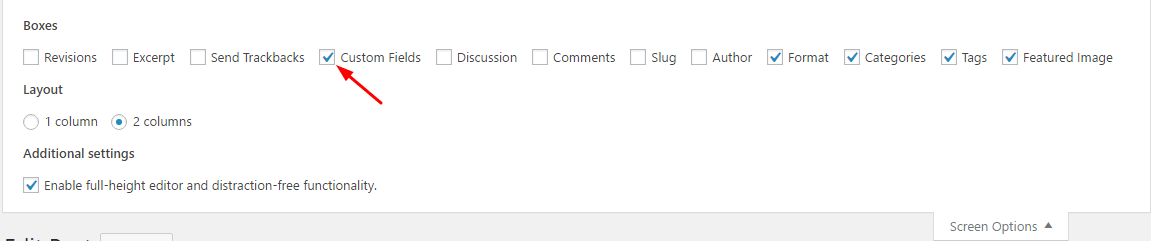
Start by going to your post and enable the custom fields option if it's not already enabled. To do so click Screen Options at the top and check the Custom fields option:
 If you are using a Gutenberg editor, you can enable the custom fields by clicking the three dots at the top right.
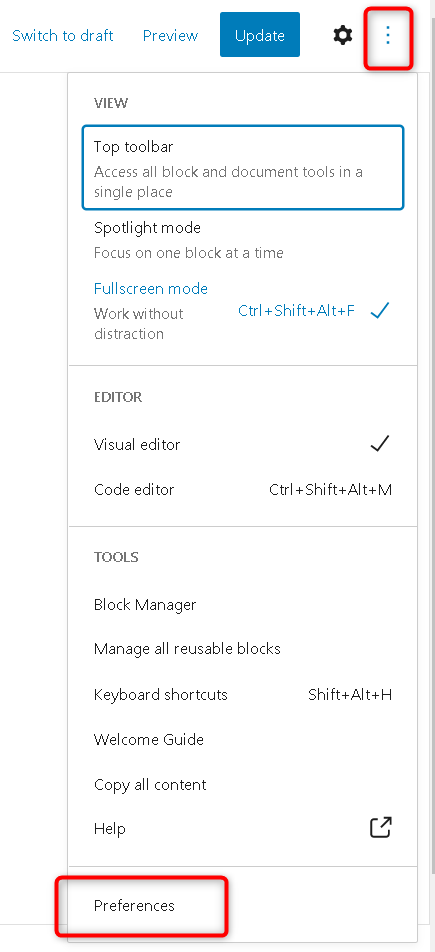 Click on Preferences to open the additional settings.
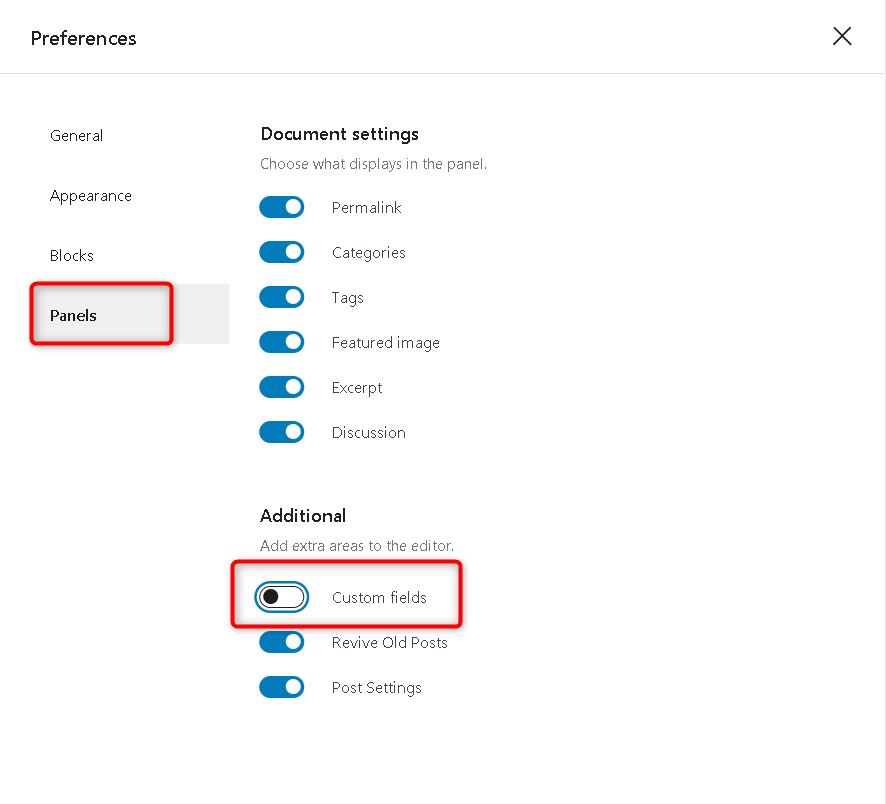
Click on the Panels tab and enable the Custom fields from there.
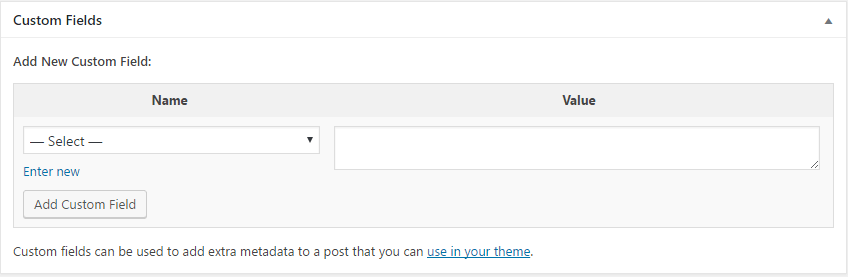
Once done, scroll down the page and you should see the Custom Fields area at the bottom.
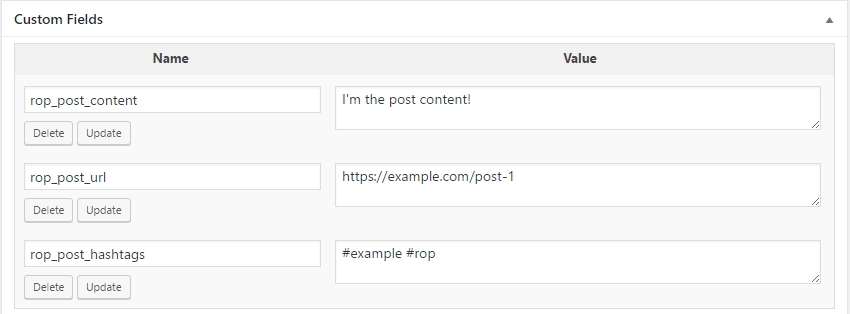
 We are going to create three custom fields:
- rop_post_content
- rop_post_url
- rop_post_hashtags
Click Enter New.
Under the Name field, enter the name of the custom field you want to create, in this case, the first one we will create is rop_post_content.
Under the Value field, add your custom content.
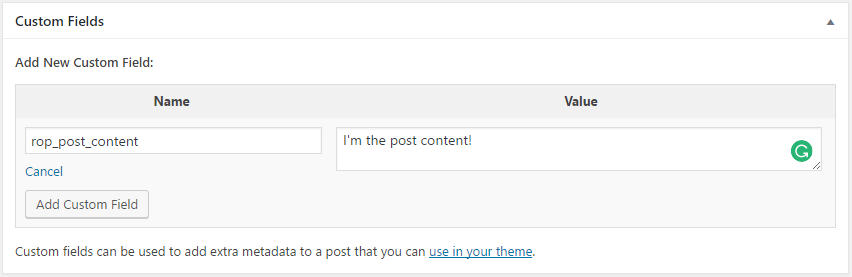
Click on **Add Custom Field.
**Repeat this step for the two other custom fields and we should have an outcome like this:
Note: Insert a space before the first hashtag so it doesn't appear stuck to your post content after it's shared.
Update/Publish your post and that's it for creating custom fields!
Here are some points to remember:
- You could edit the Value content anytime you please, just be sure to click Update on the custom field (next to delete) after doing so or your changes won't take effect!
- After creating these custom fields there is no need to recreate them for each post, the custom field name will already be in the list of custom fields, you will just have to select it and enter the value you wish.
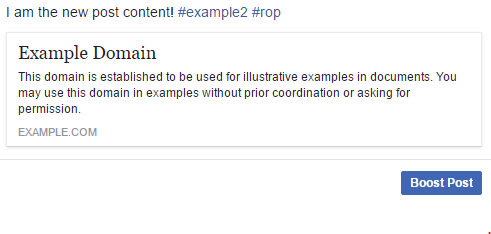
Now we are going to create another post, but this time we want the same custom fields but just with a different value. After creating your new post, scroll to the bottom of the page and this time instead of adding a new custom field we will select it from the drop-down menu:
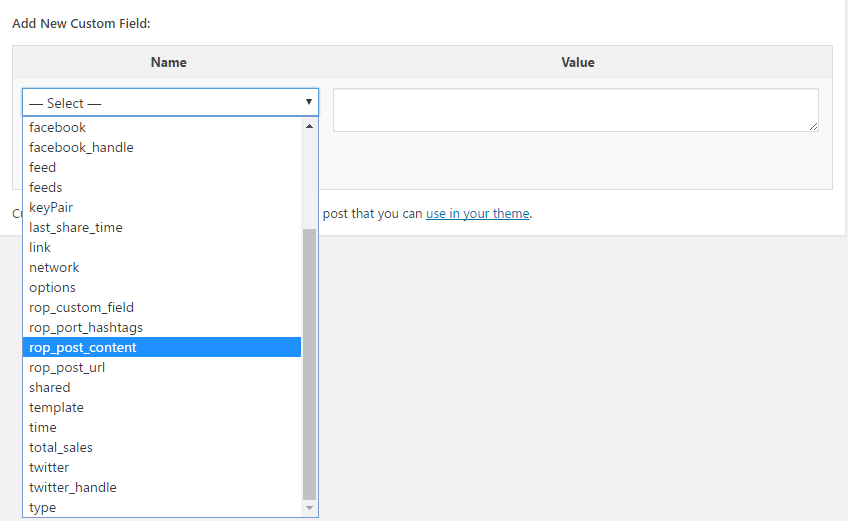 Select the field name and enter your text in the Value field then click Add Custom Field.
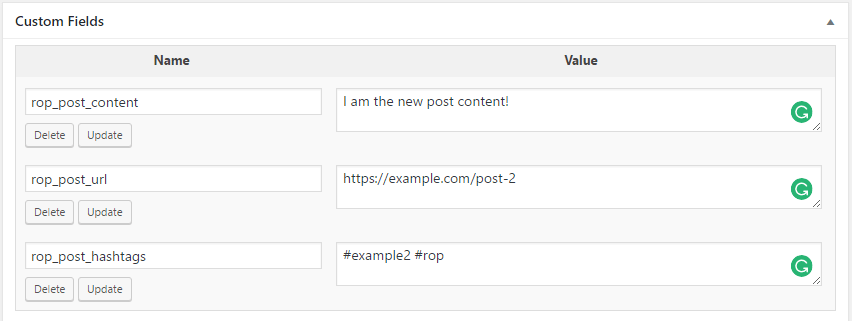
Repeat the process until all your custom fields have been added:
 Great, now you've seen how to create your custom fields we just need to see them in action!
Go to WordPress Dashboard > Revive Social > Post Format and enter your custom fields into their respective areas:
Save your changes and that should be it!
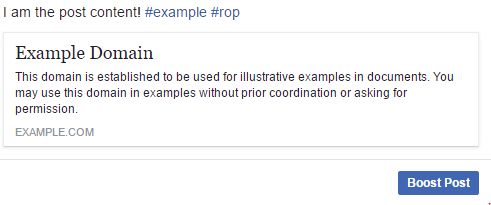
When shared you would have something like this (if post with image was not set or there was no featured image):
You now know how to use custom fields for retrieving share content 😃