
Appearance
How to connect Revive Social to Mastodon
This is a Premium Feature! Get immediate access to it with any Pro subscription of Revive Social here
Introduction
Integrating the Revive Social plugin with the Mastodon network enables you to automatically share WordPress posts on your Mastodon account. This guide will help you set up the connection step by step. Custom domains are also supported.
Connecting to Mastodon
Follow these steps to integrate Revive Social with your Mastodon account:
Step 1: Locate Your Mastodon Domain
- Log in to your Mastodon account on a browser.
- Check the URL in the address bar. The domain appears right after "https://". For example, if your URL is
https://mastodon.social/@yourusername, your domain is mastodon.social. - In most cases, the default domain is mastodon.social.

Step 2: Connect Your Mastodon Account
Go to the Revive Social dashboard on your WordPress website.
Click on the Mastodon button to add a new account.
In the pop-up, enter your Mastodon domain (e.g.,
mastodon.social) and click Sign In.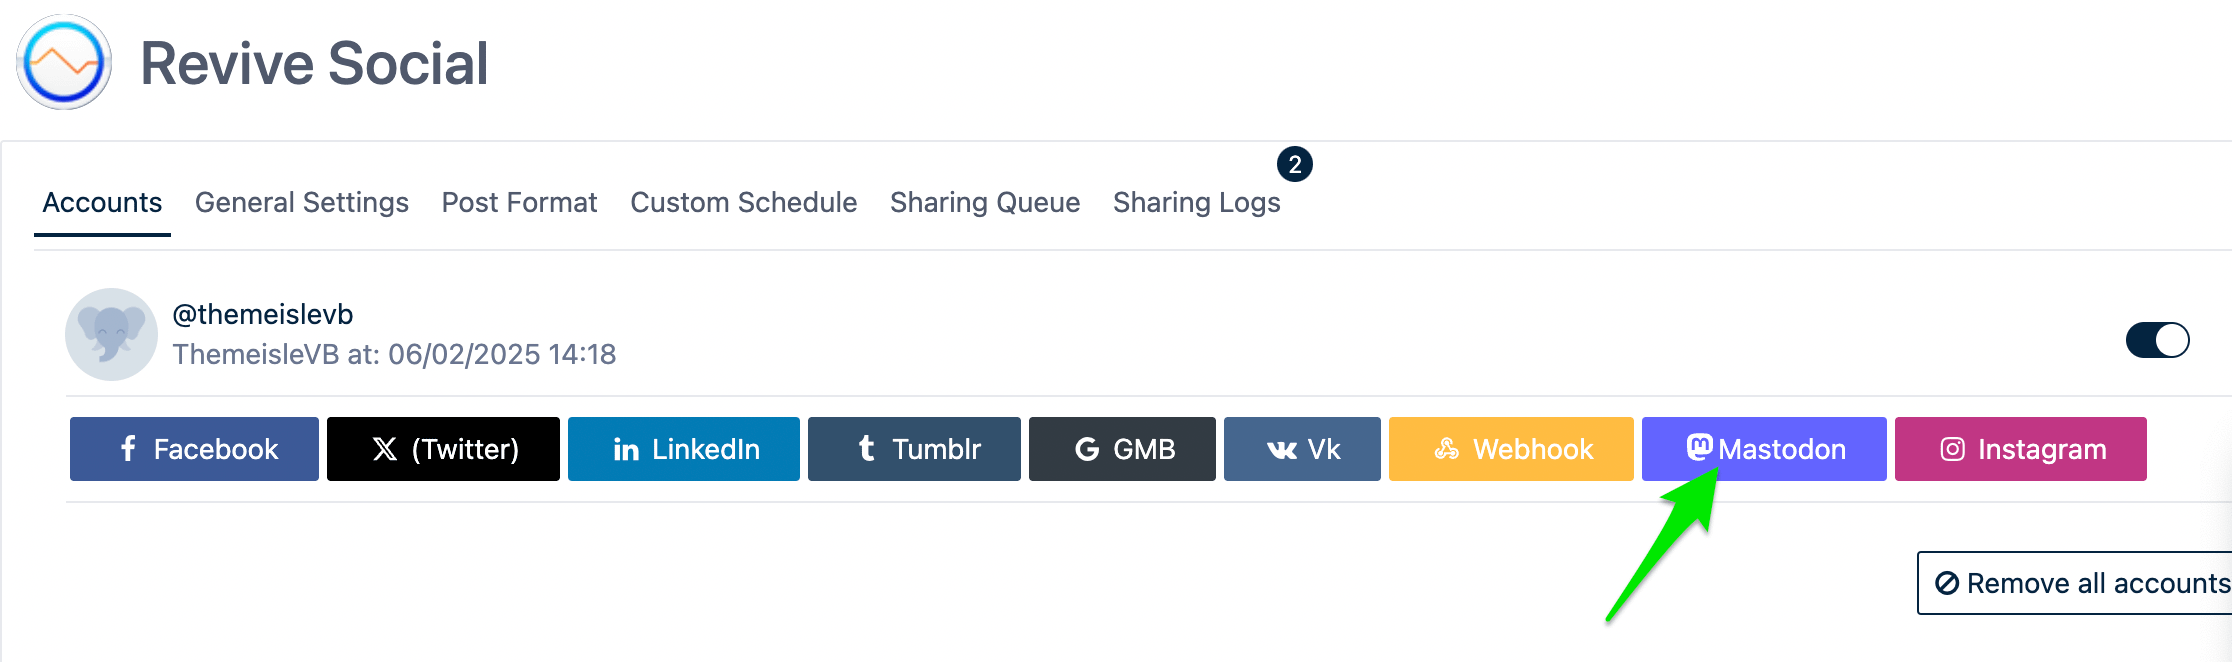

Step 3: Authorize Revive Social
- You will be redirected to the Mastodon website to authorize the connection.
- Log in if prompted, then review the permissions and click Authorize.

Step 4: Verify Connection
- After authorizing, you will be redirected back to Revive Social.
- Check that your Mastodon account is now listed under the Accounts tab.

Step 5: Start Sharing Content
- Create or update a WordPress post as usual.
- Revive Social will automatically share the post on your Mastodon account based on your sharing schedule.
- To monitor sharing activity, go to the Sharing Logs tab in the Revive Social dashboard.
Happy sharing!